Documentation
Installation
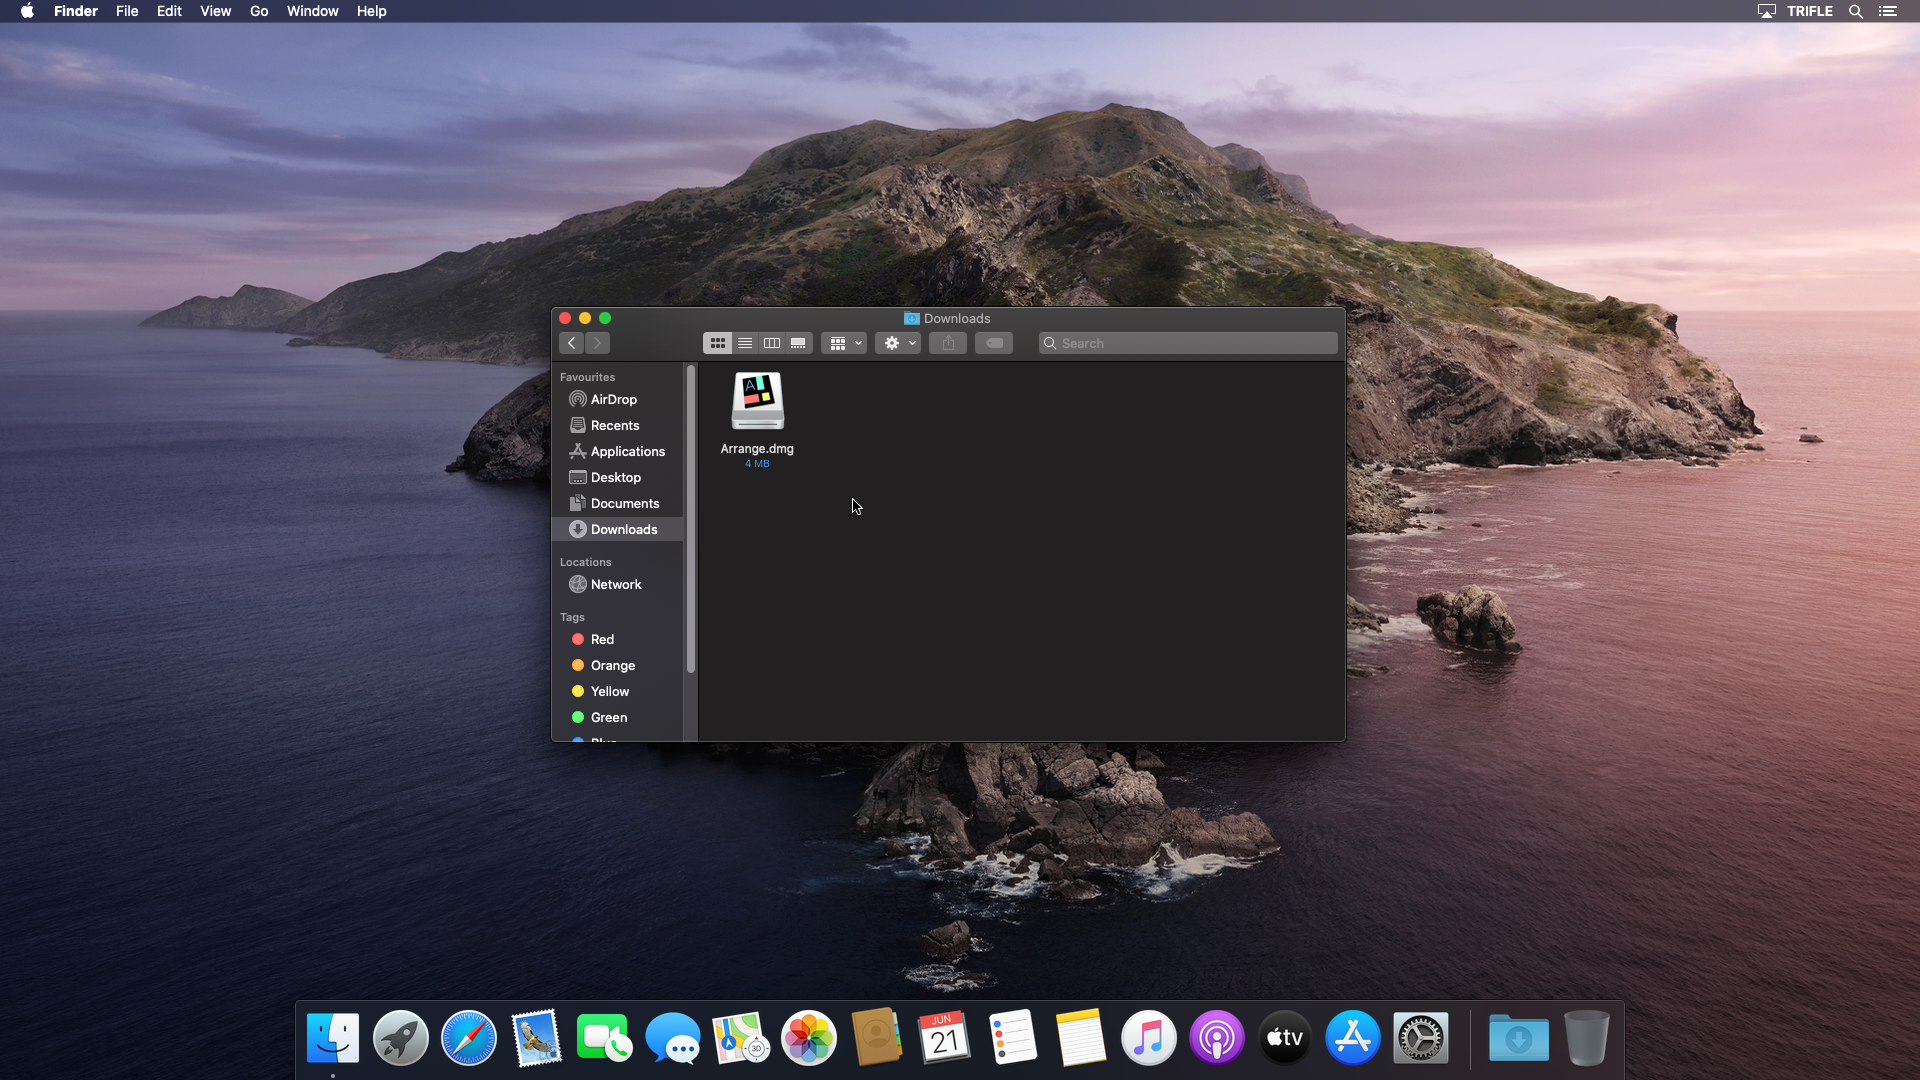
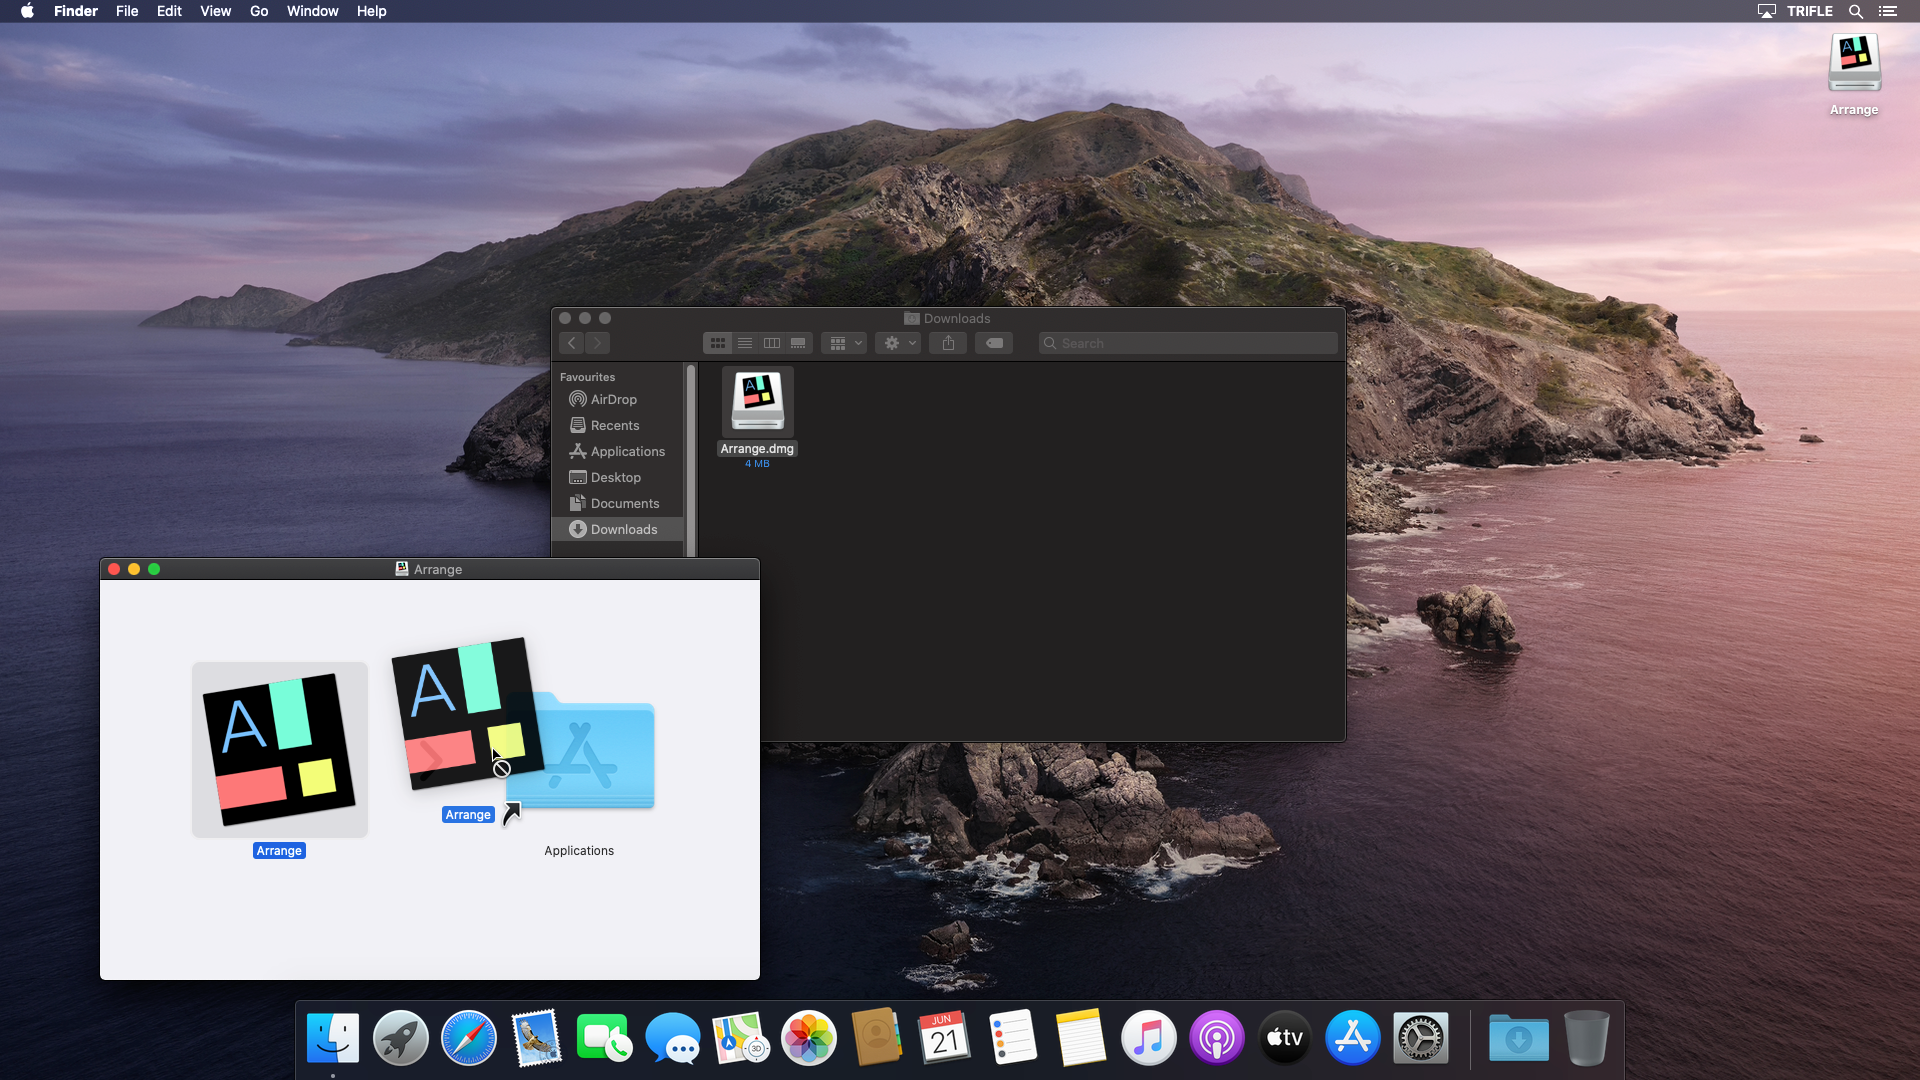
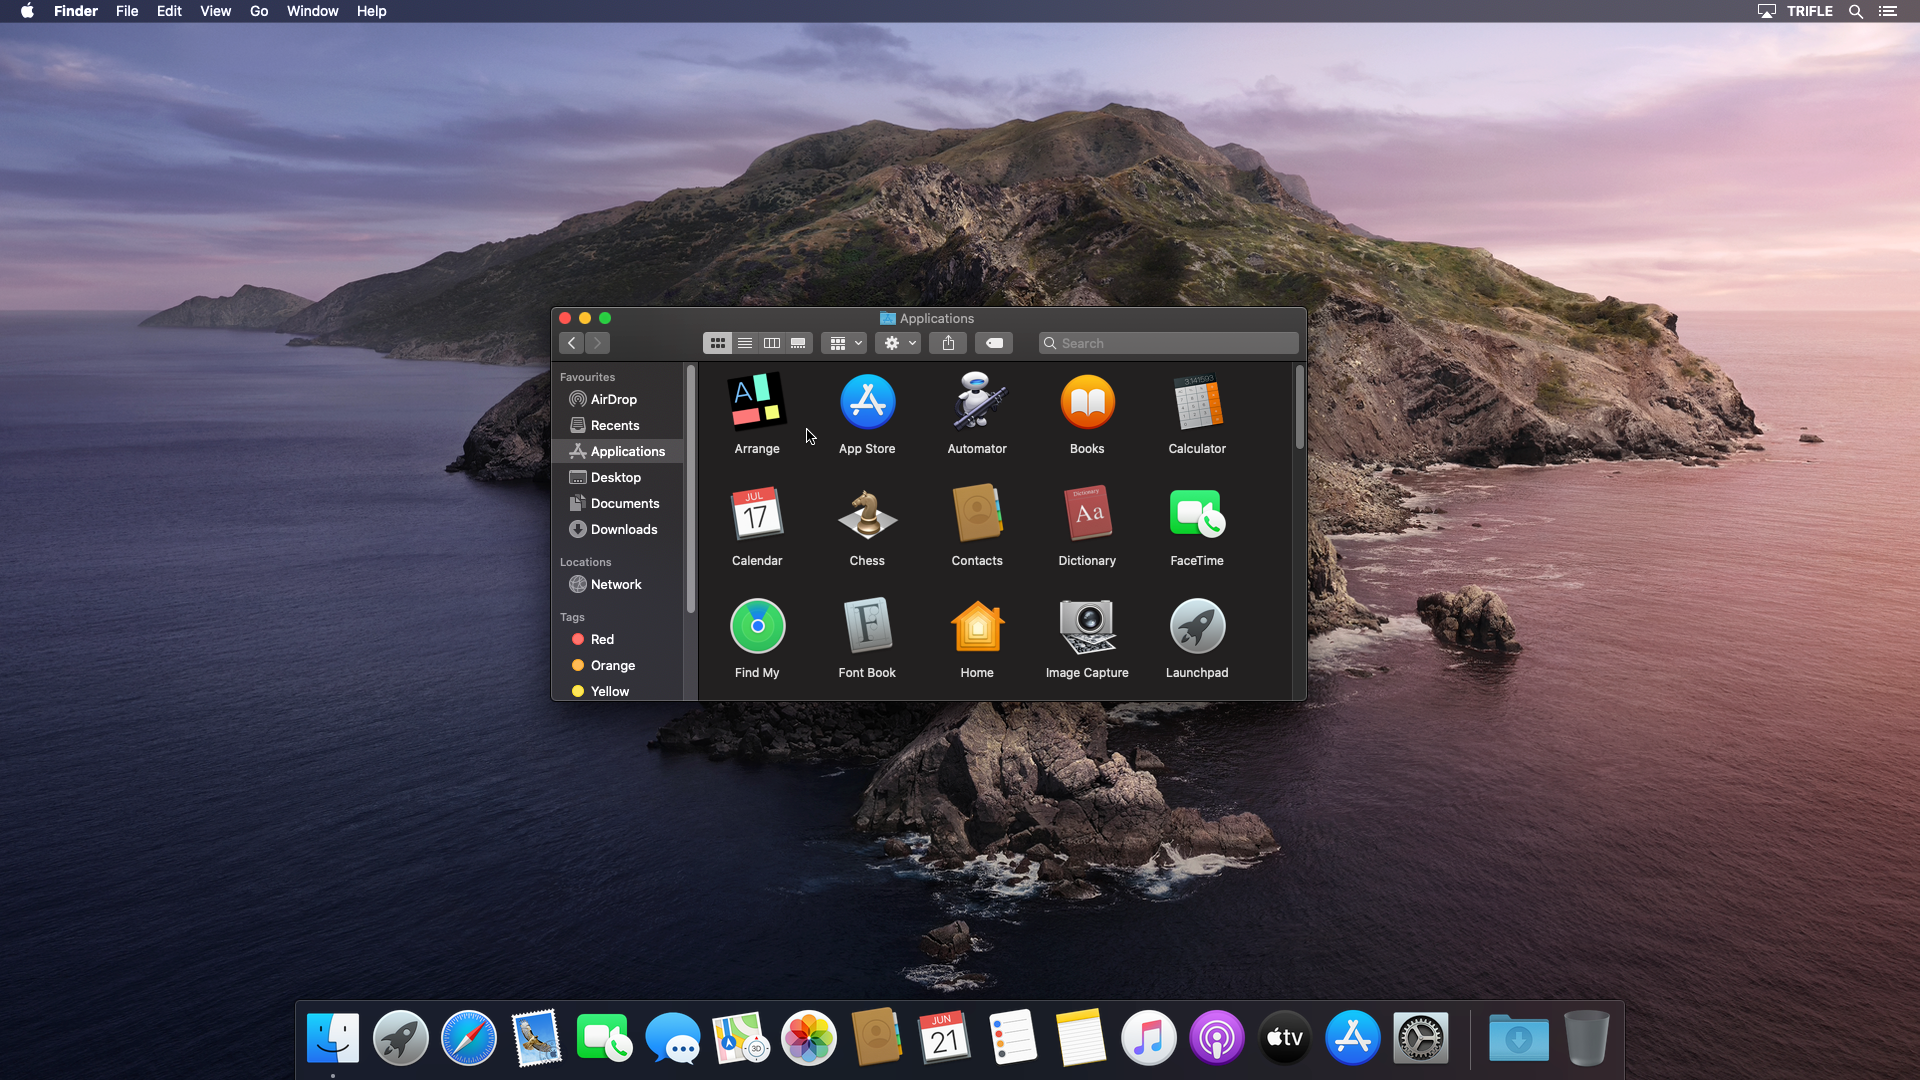
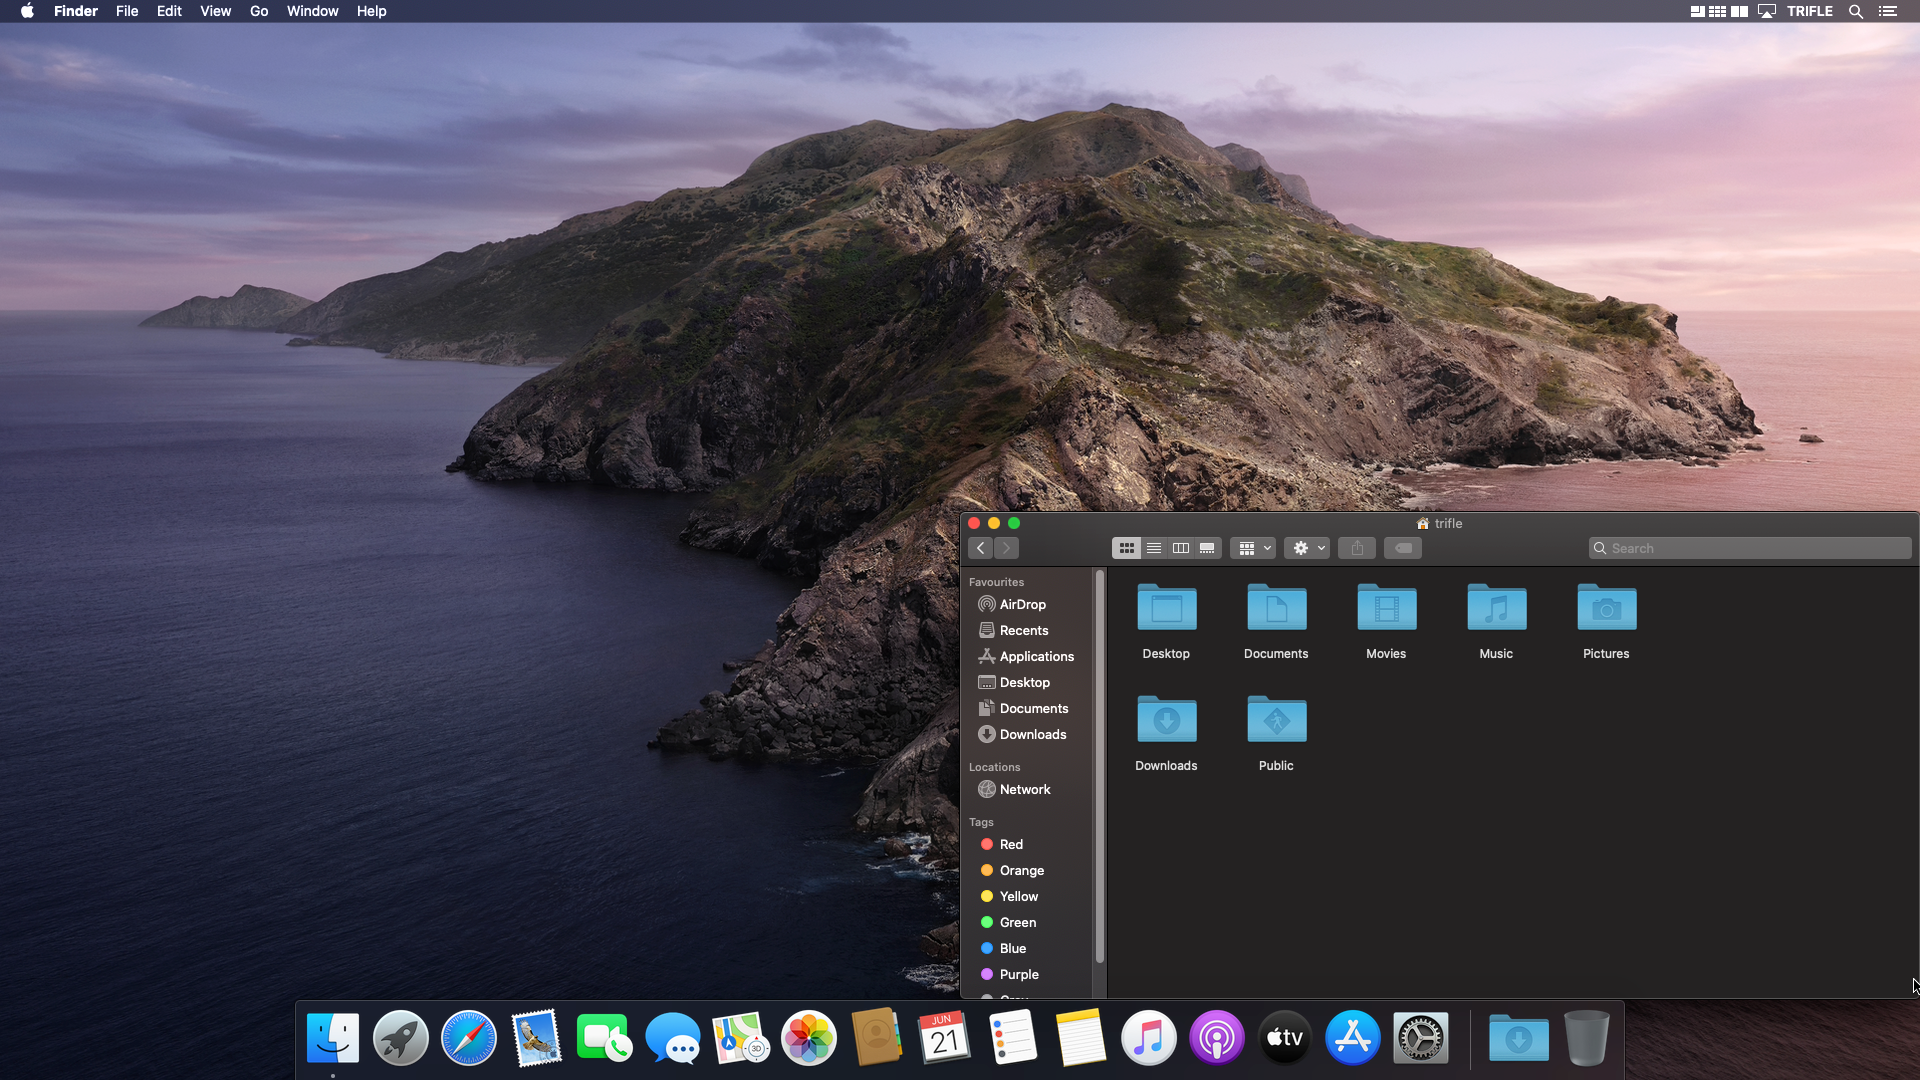
To install Arrange first double click or select Open from a pop-up menu on the downloaded Arrange.dmg file. A new disk icon will appear on the Finder desktop. Open it with double click or by selecting Open from a pop-up menu. You will see a window with two items: Arrange application and a shortcut to Application folder. Grab Arrange item and move it to the shortcut of Application folder. Arrange is ready to use.

Registration
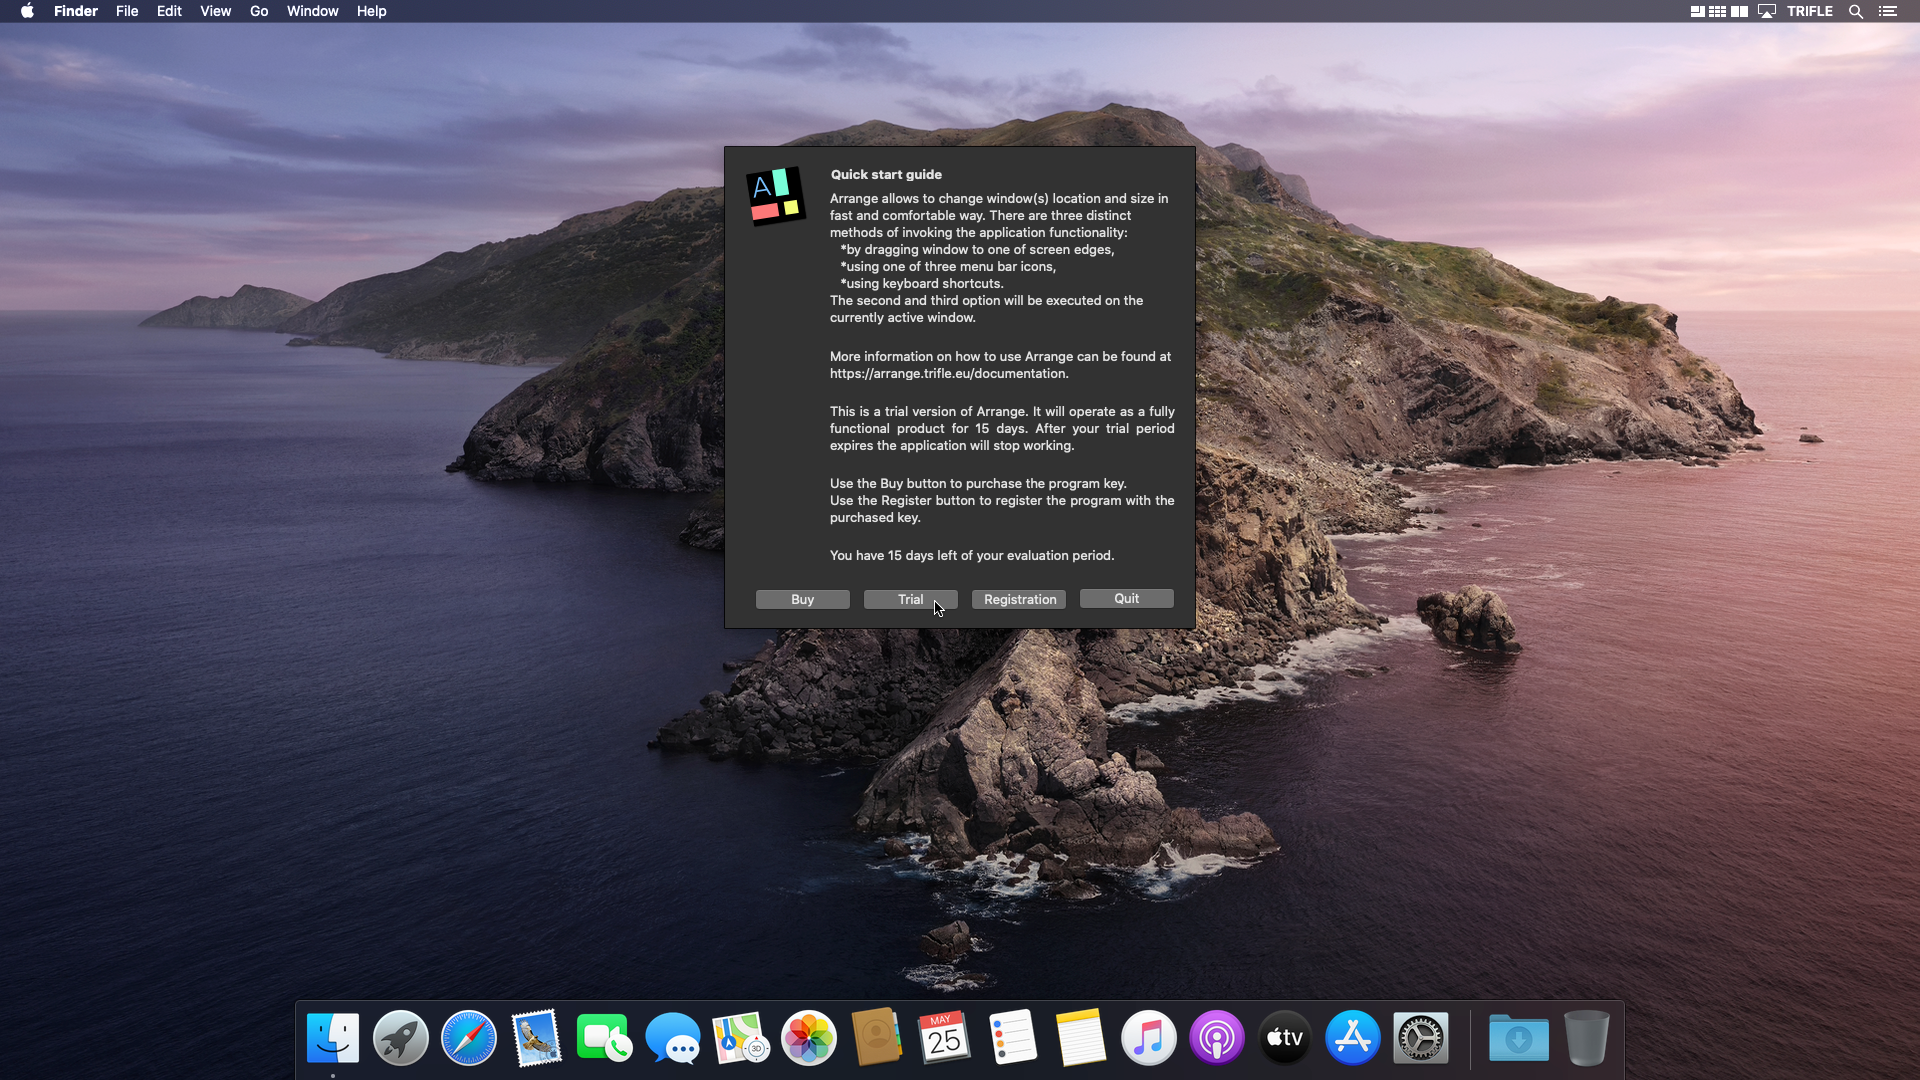
After buying the licence, Arrange can be registered on the page with purchase summarization by clicking „Activate now” link. Registration can be done also later. To do it start the application, a window with information about trial will appeare, click Registration button, Preferences window will appear with selected Registration tab. Copy/Paste the license name and the key and press Register button. If the application is already running so trial window is not displayed, go to Preferences and select Registration tab. To go to Preferences activate one of on screen menus and press black Preferences button.

Features
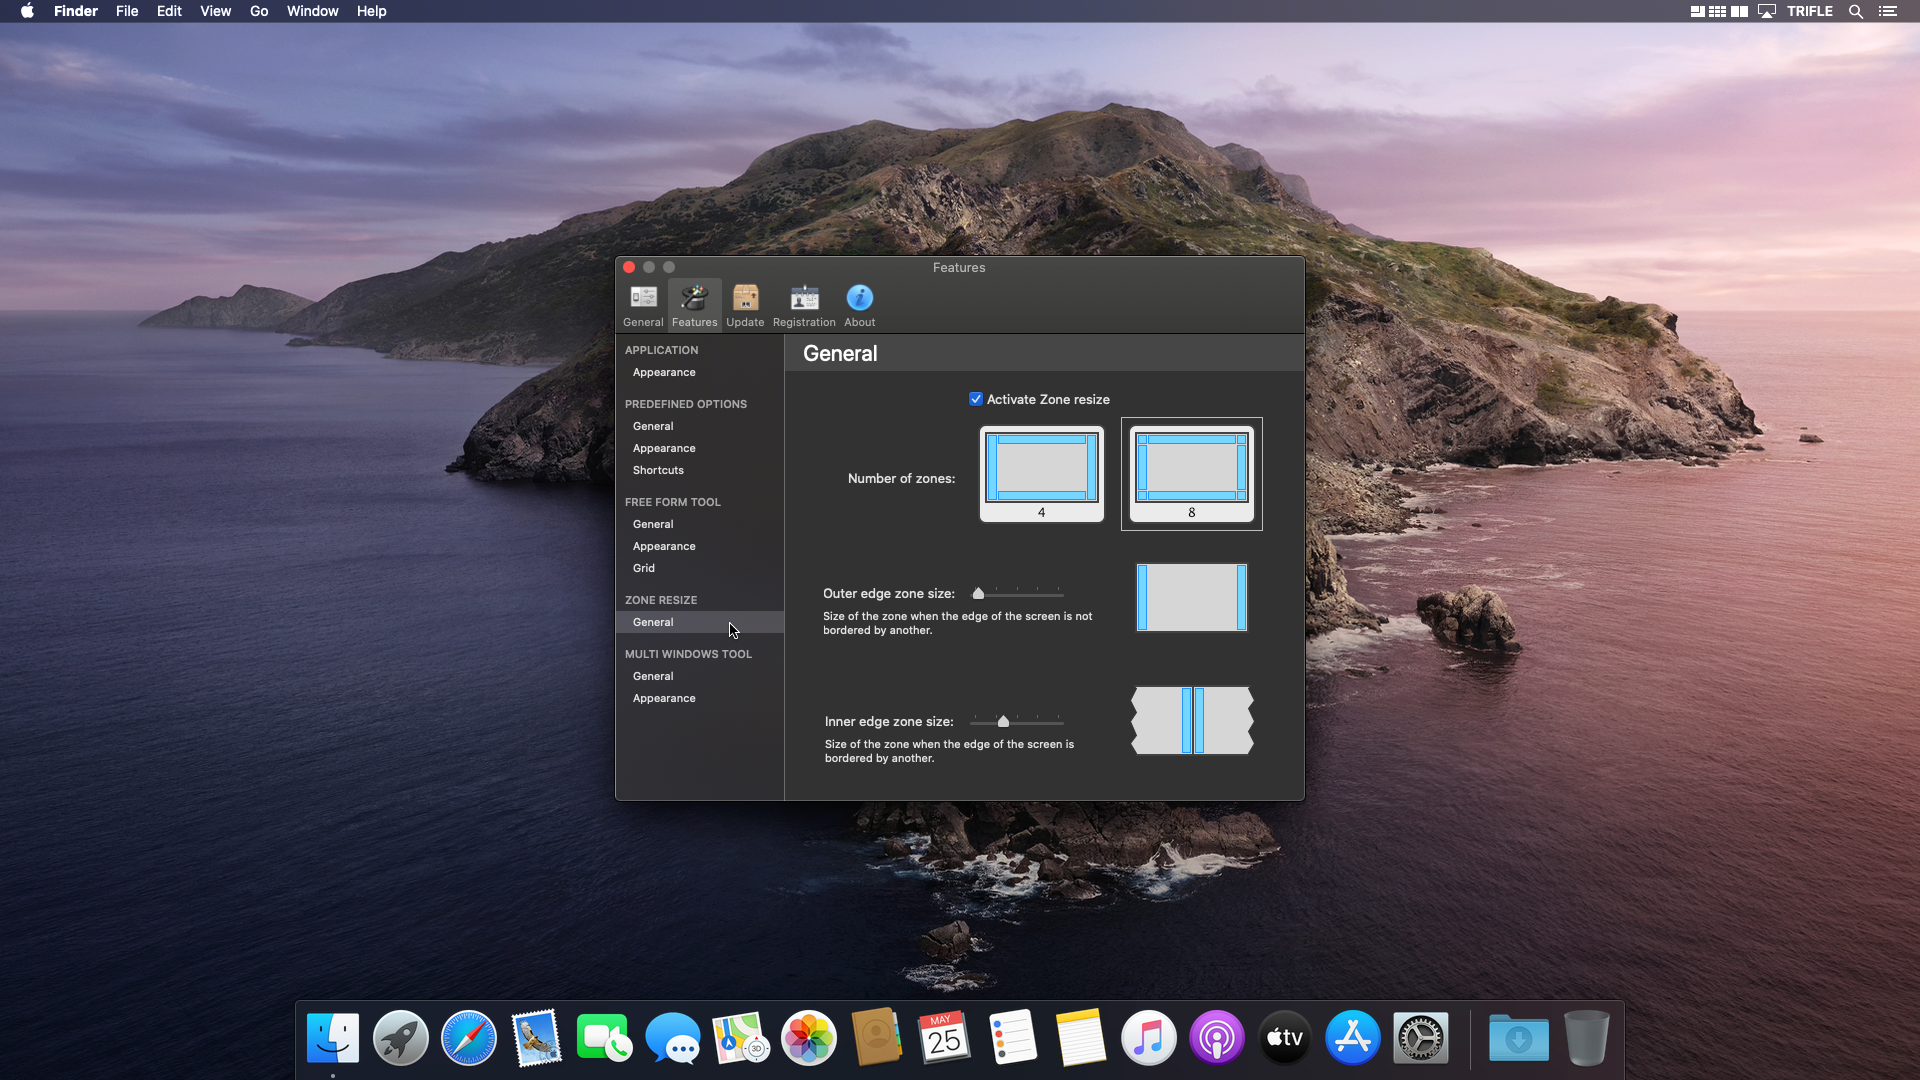
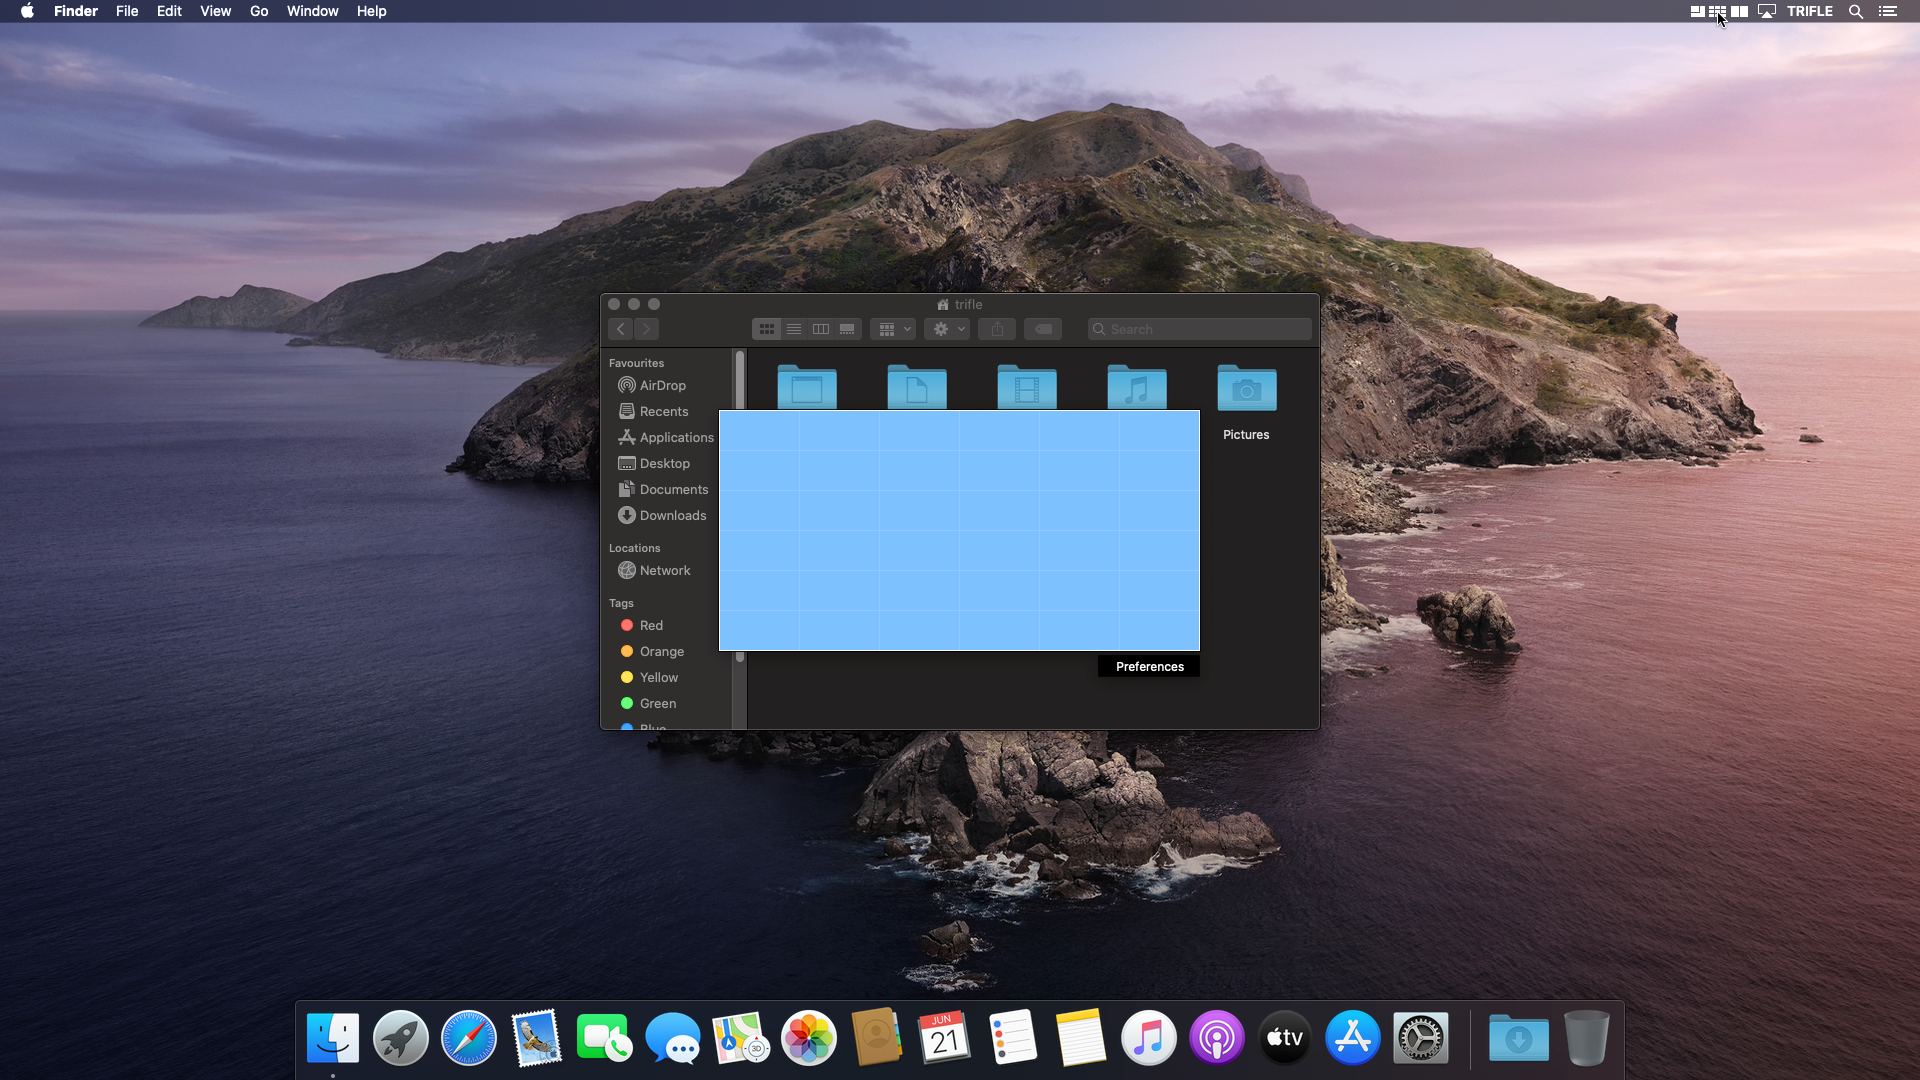
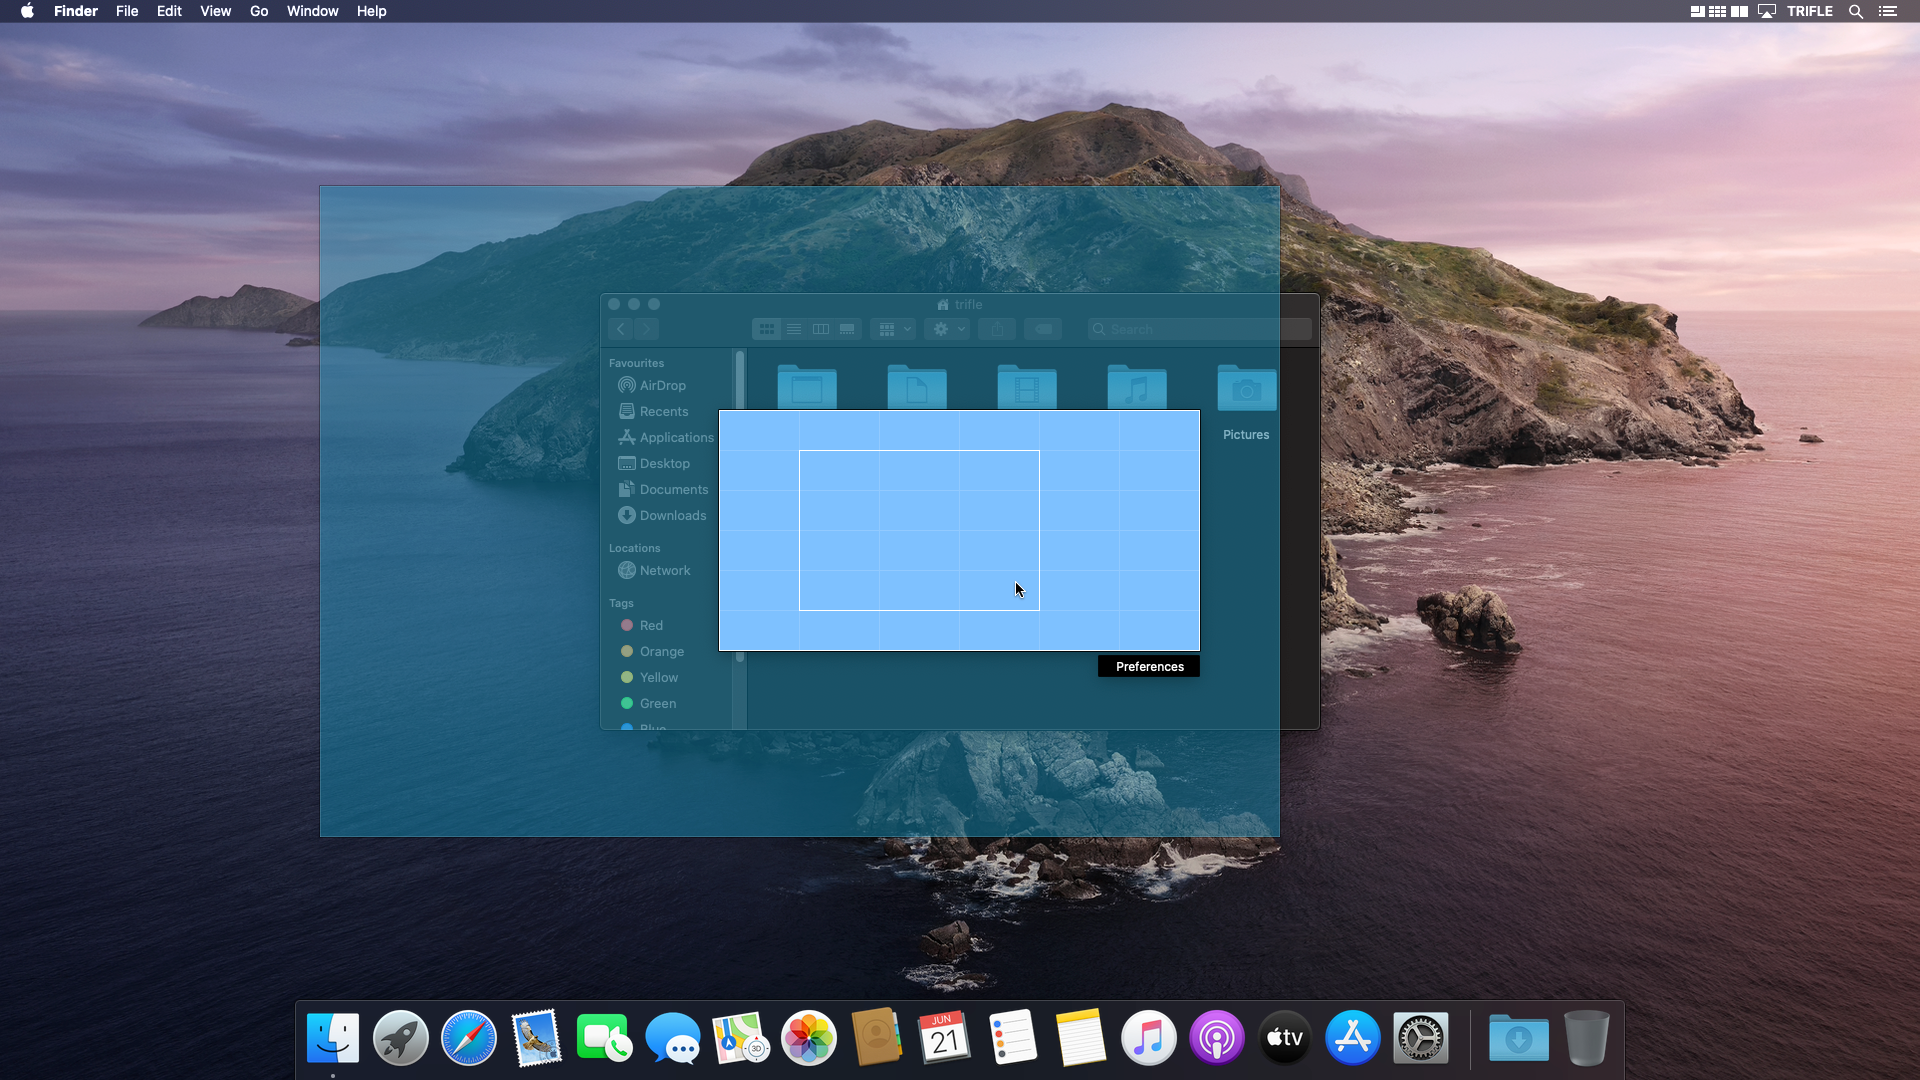
Zone resize
Zone resize, resizes windows according to place where they are dragged. There are two modes, one with 4 zones and one with 8 zones. The former lets user to maximise, half size and center windows, the latter also provides options to make windows one quarter size of the screen. The previous size of the window is remembered so next time the window is moved its size is restored.

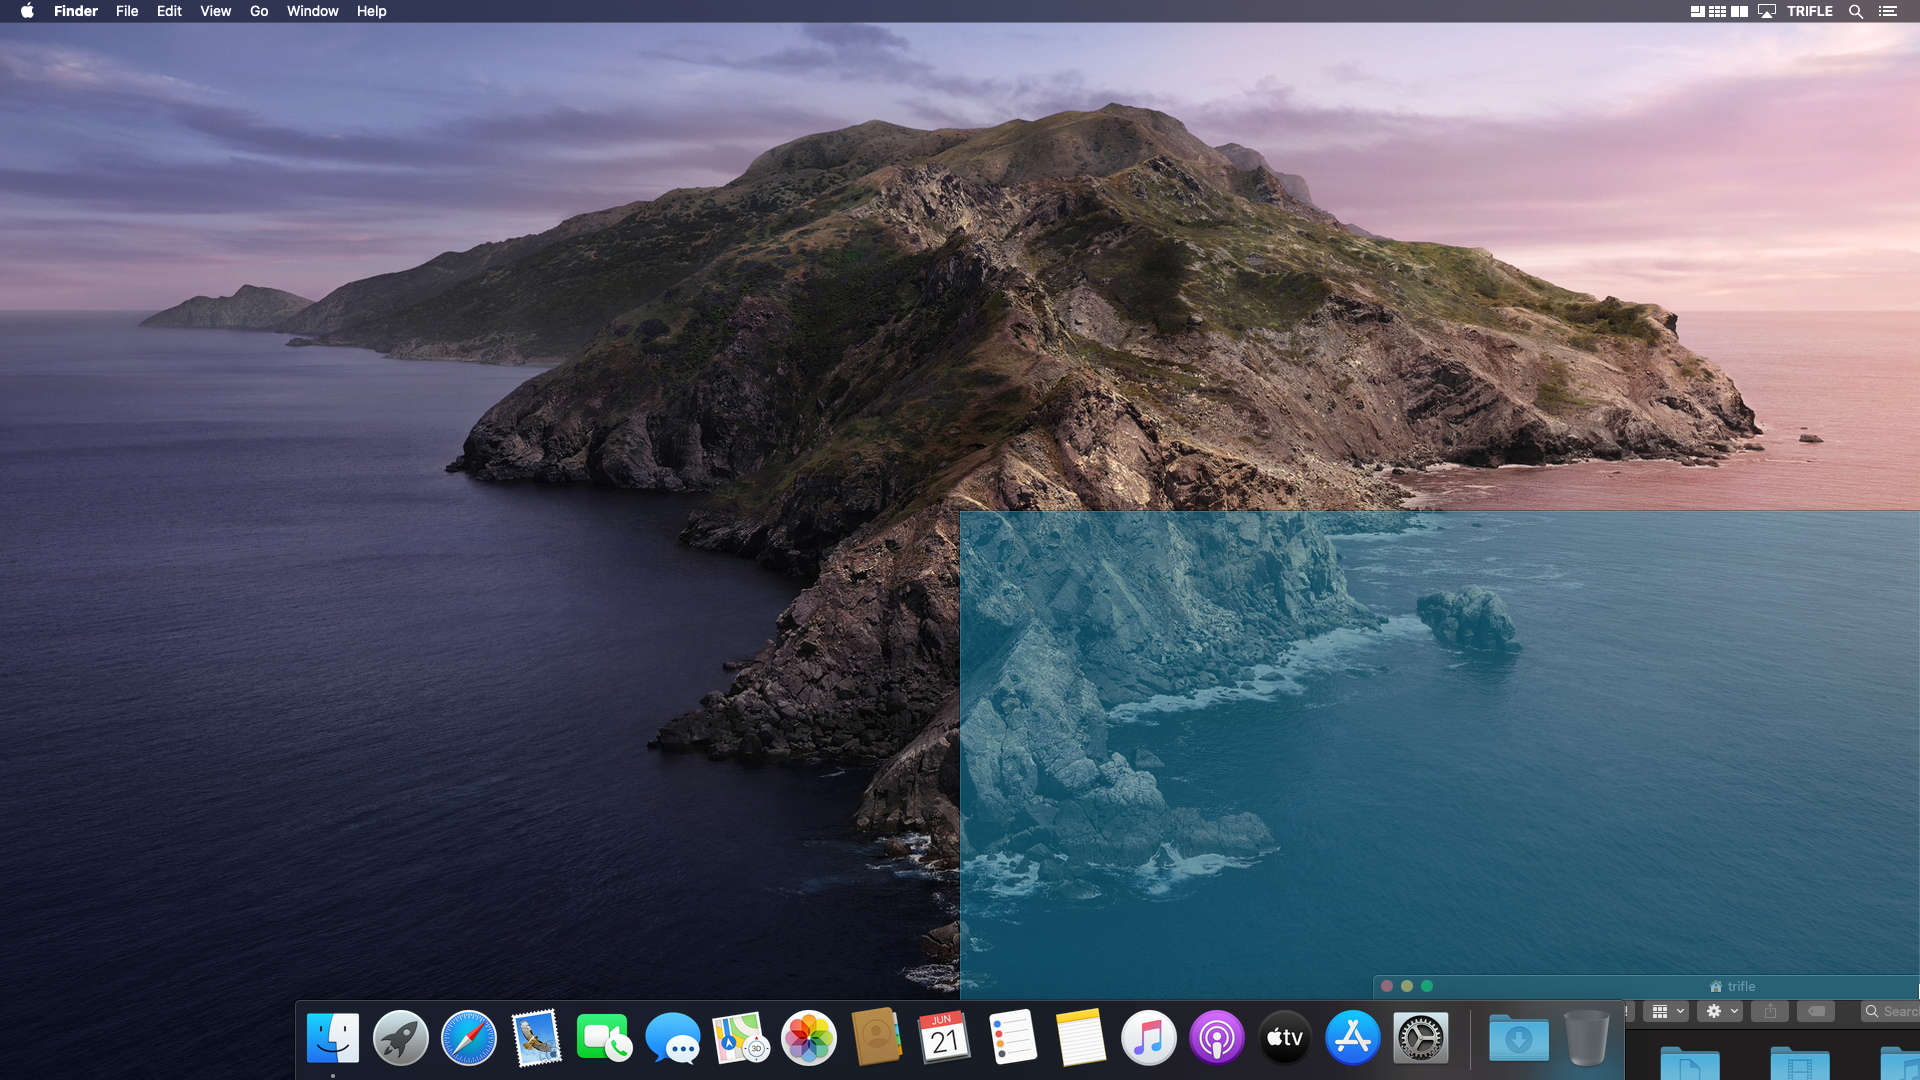
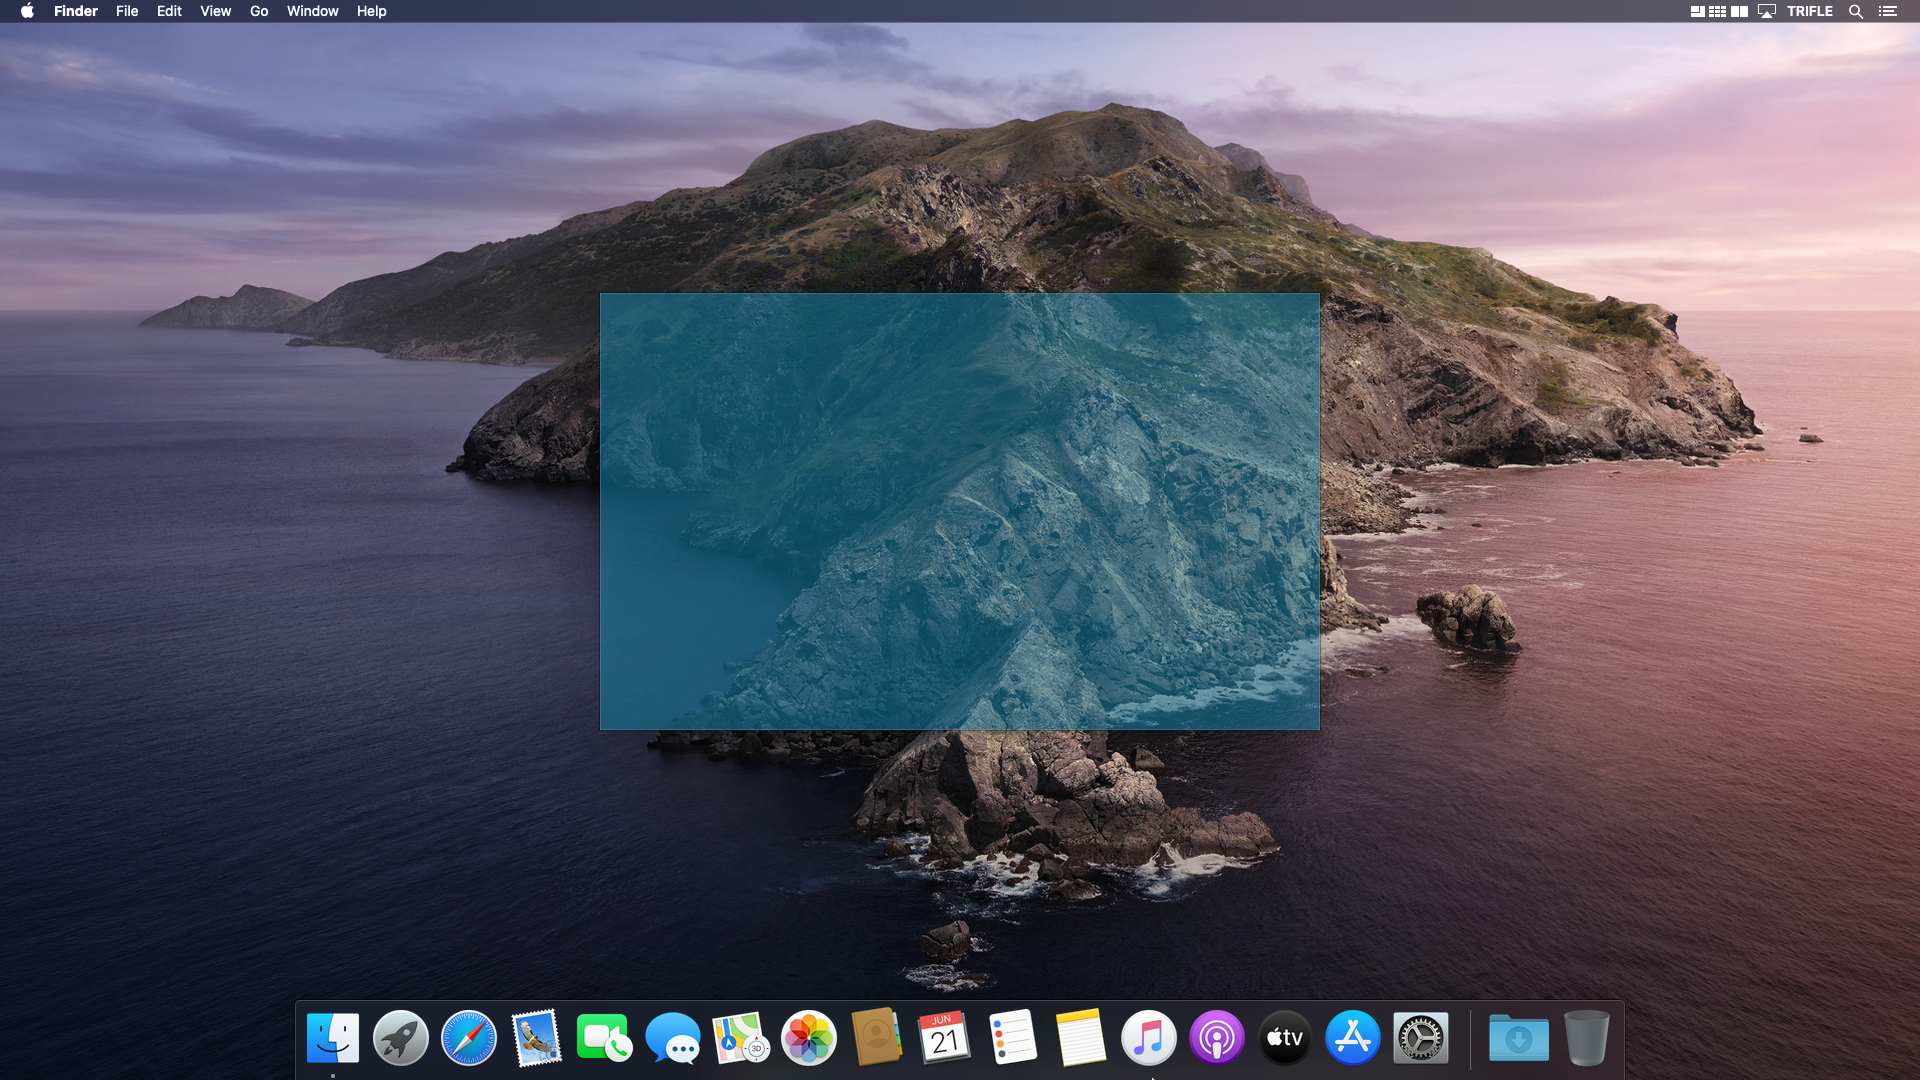

To use zone resize do the following:
- start move operation of a window you want to reposition/resize,
- move it to one of the zones,
- release the mouse button.
Preferences
The following settings can be adjusted:
- Activate zone resize - lets turn on/off the zone resize functionality,
- Number of zones - lets set the number of active zones. Zones are located at edges of displays, each zone has its own effect when used,
- Outer edge zone size - size of a zone when it does not stick to another zone of different screen,
- Inner edge zone size - size of a zone when it sticks to another zone of different screen.
Predefined options
Predefined options, provides on-screen menu with 16 predefined sizes and positions.


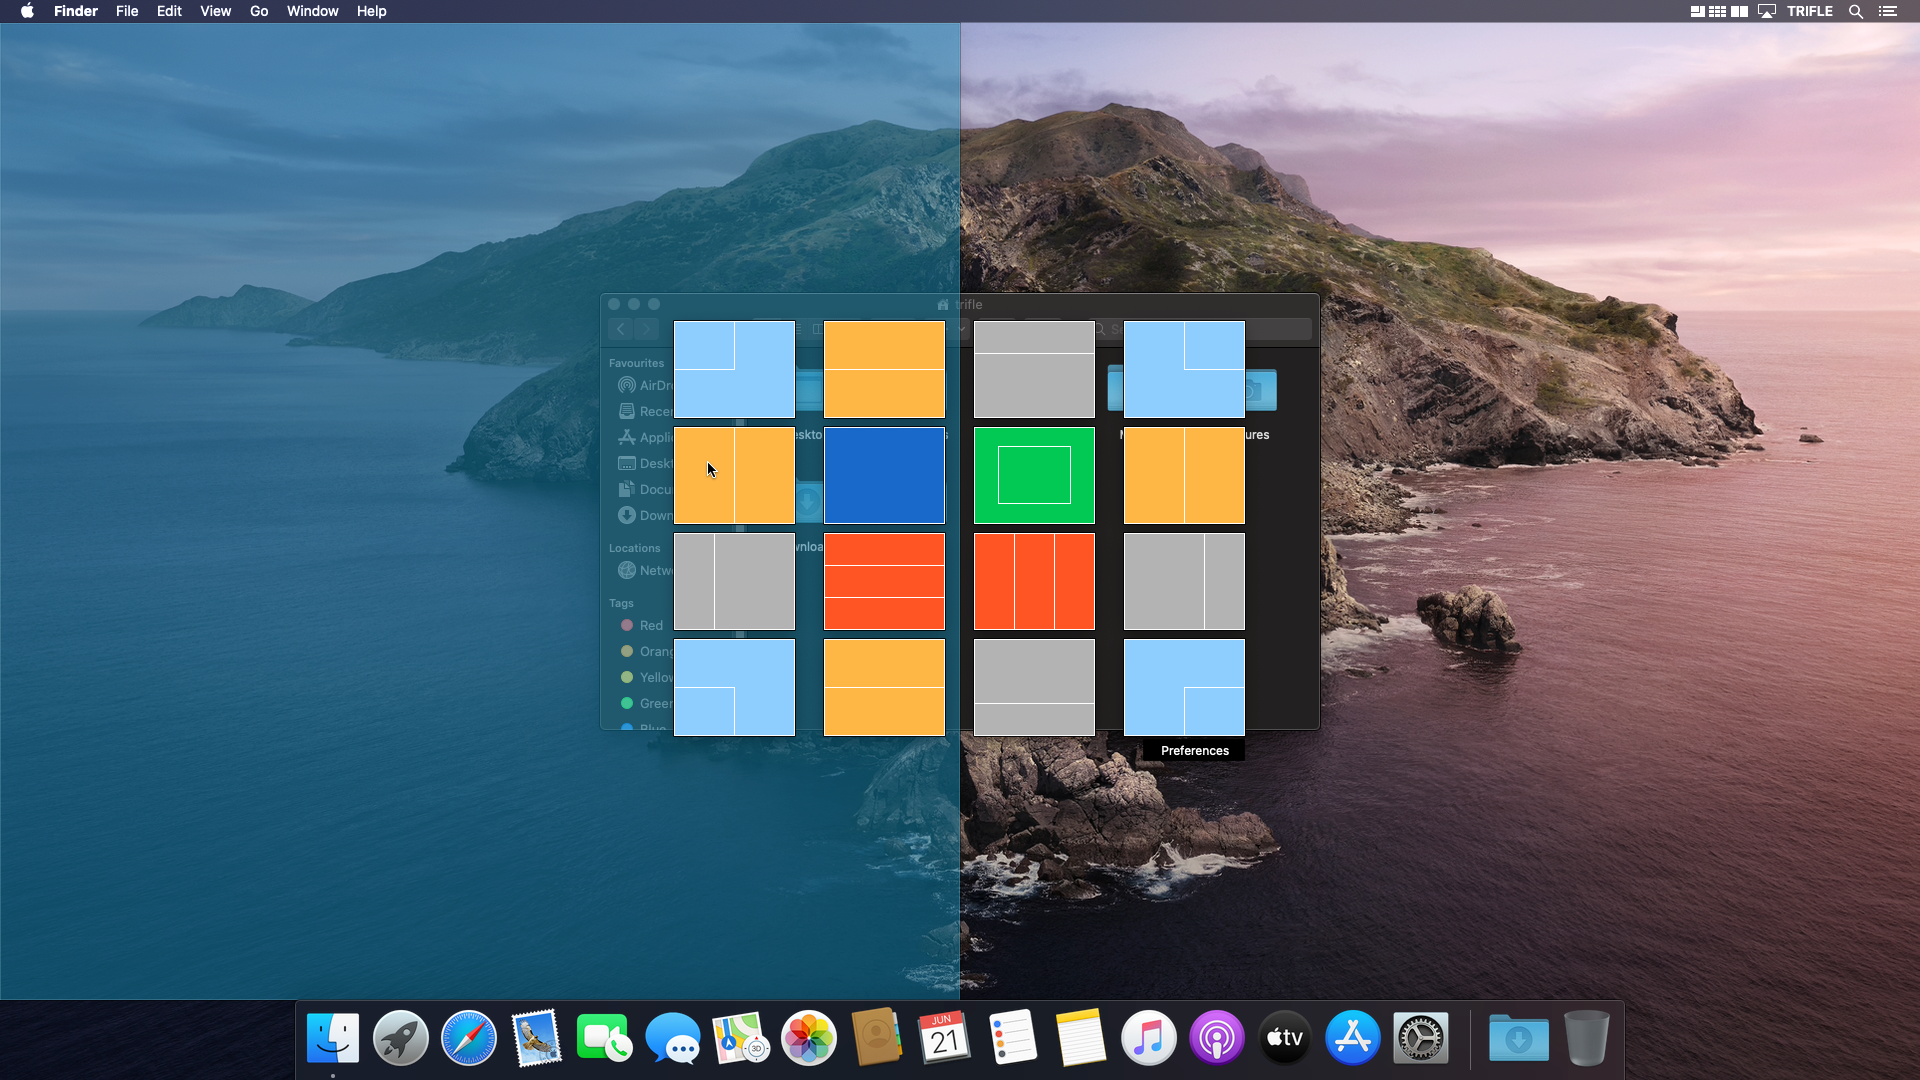

To use predefined options do the following:
- activate on-screen menu using the blue menu bar icon or with a keyboard shortcut (default: Option-Control-Command-p),
- with the left mouse button select one of predefined positions and sizes.
Preferences
The following settings can be adjusted:
- Invoke Predefined Options - lets set a keyboard shortcut which activates the on-screen menu,
- Show icon in Menu Bar - turns on/off visibility of the menu bar icon,
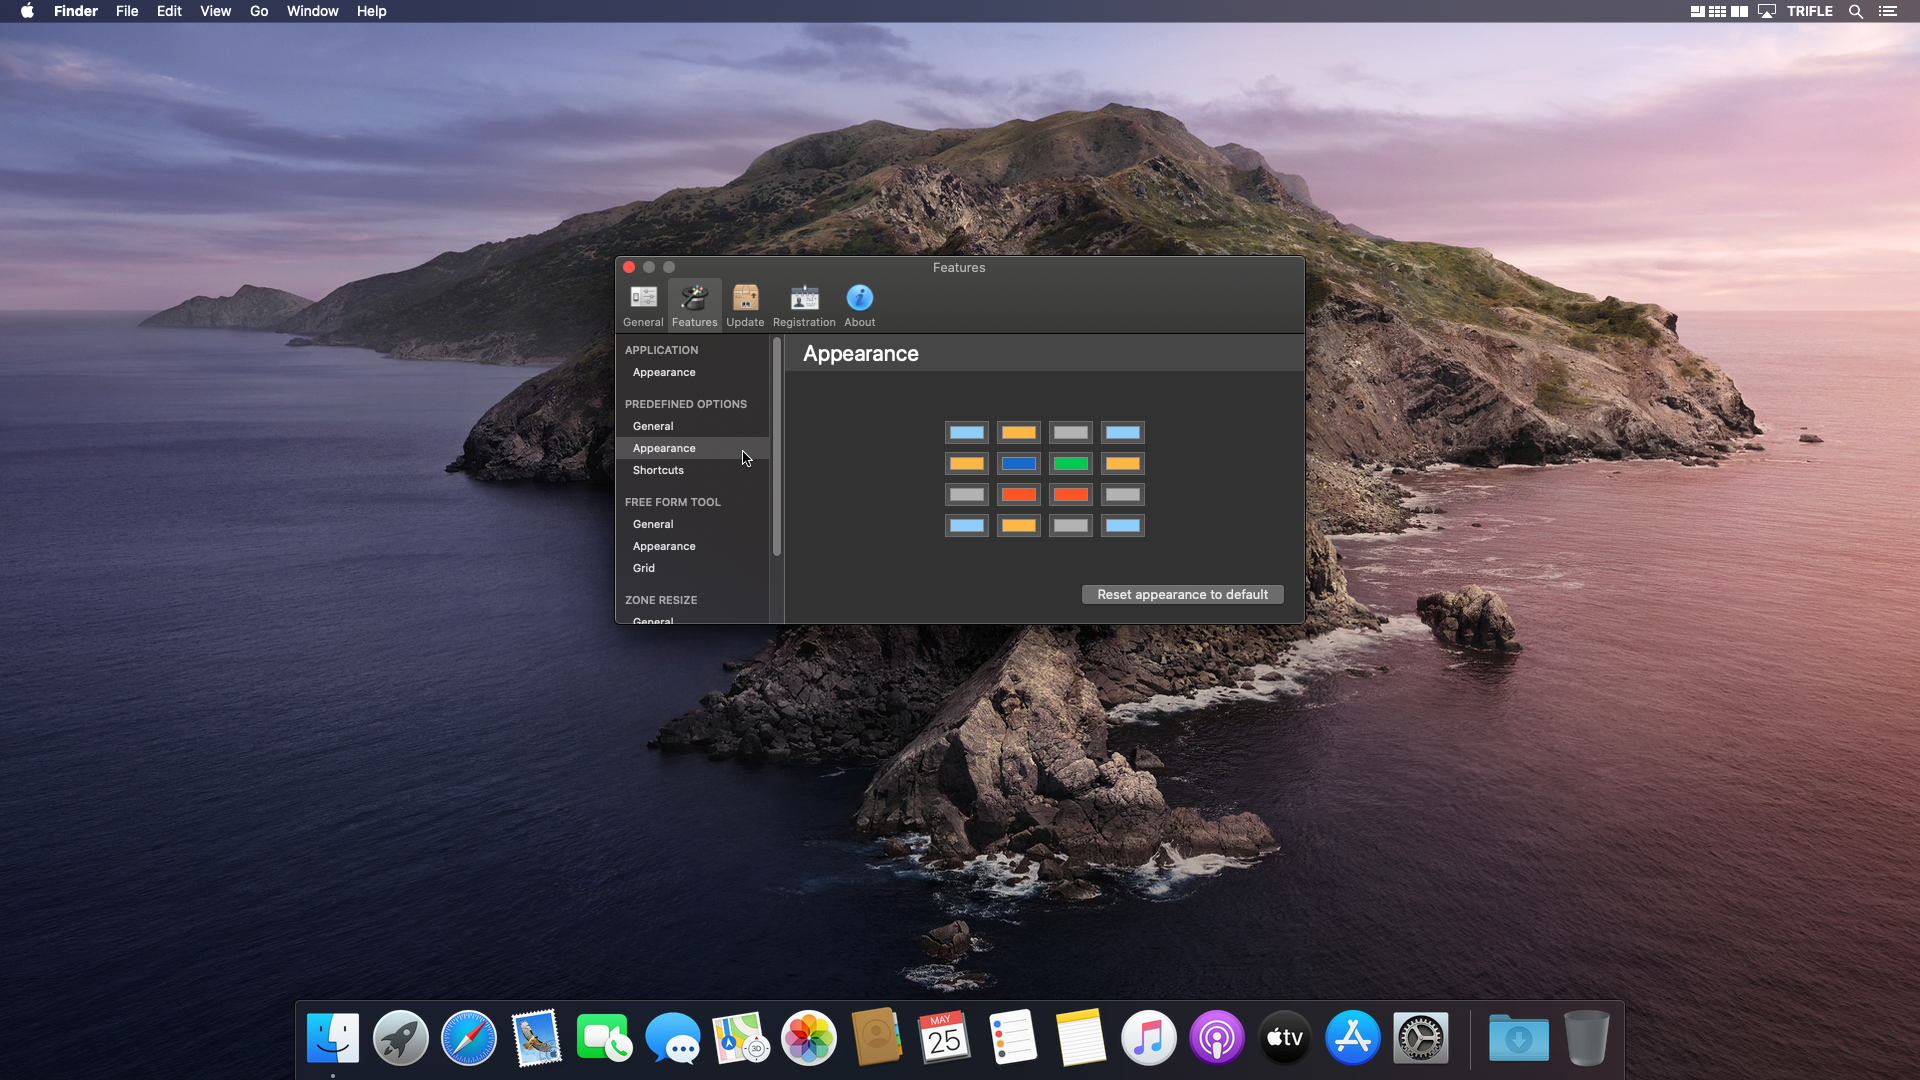
- Colour selectors - lets choose colours of the on-screen menu elements,
- Reset appearance to default - resets appearance settings to default values,
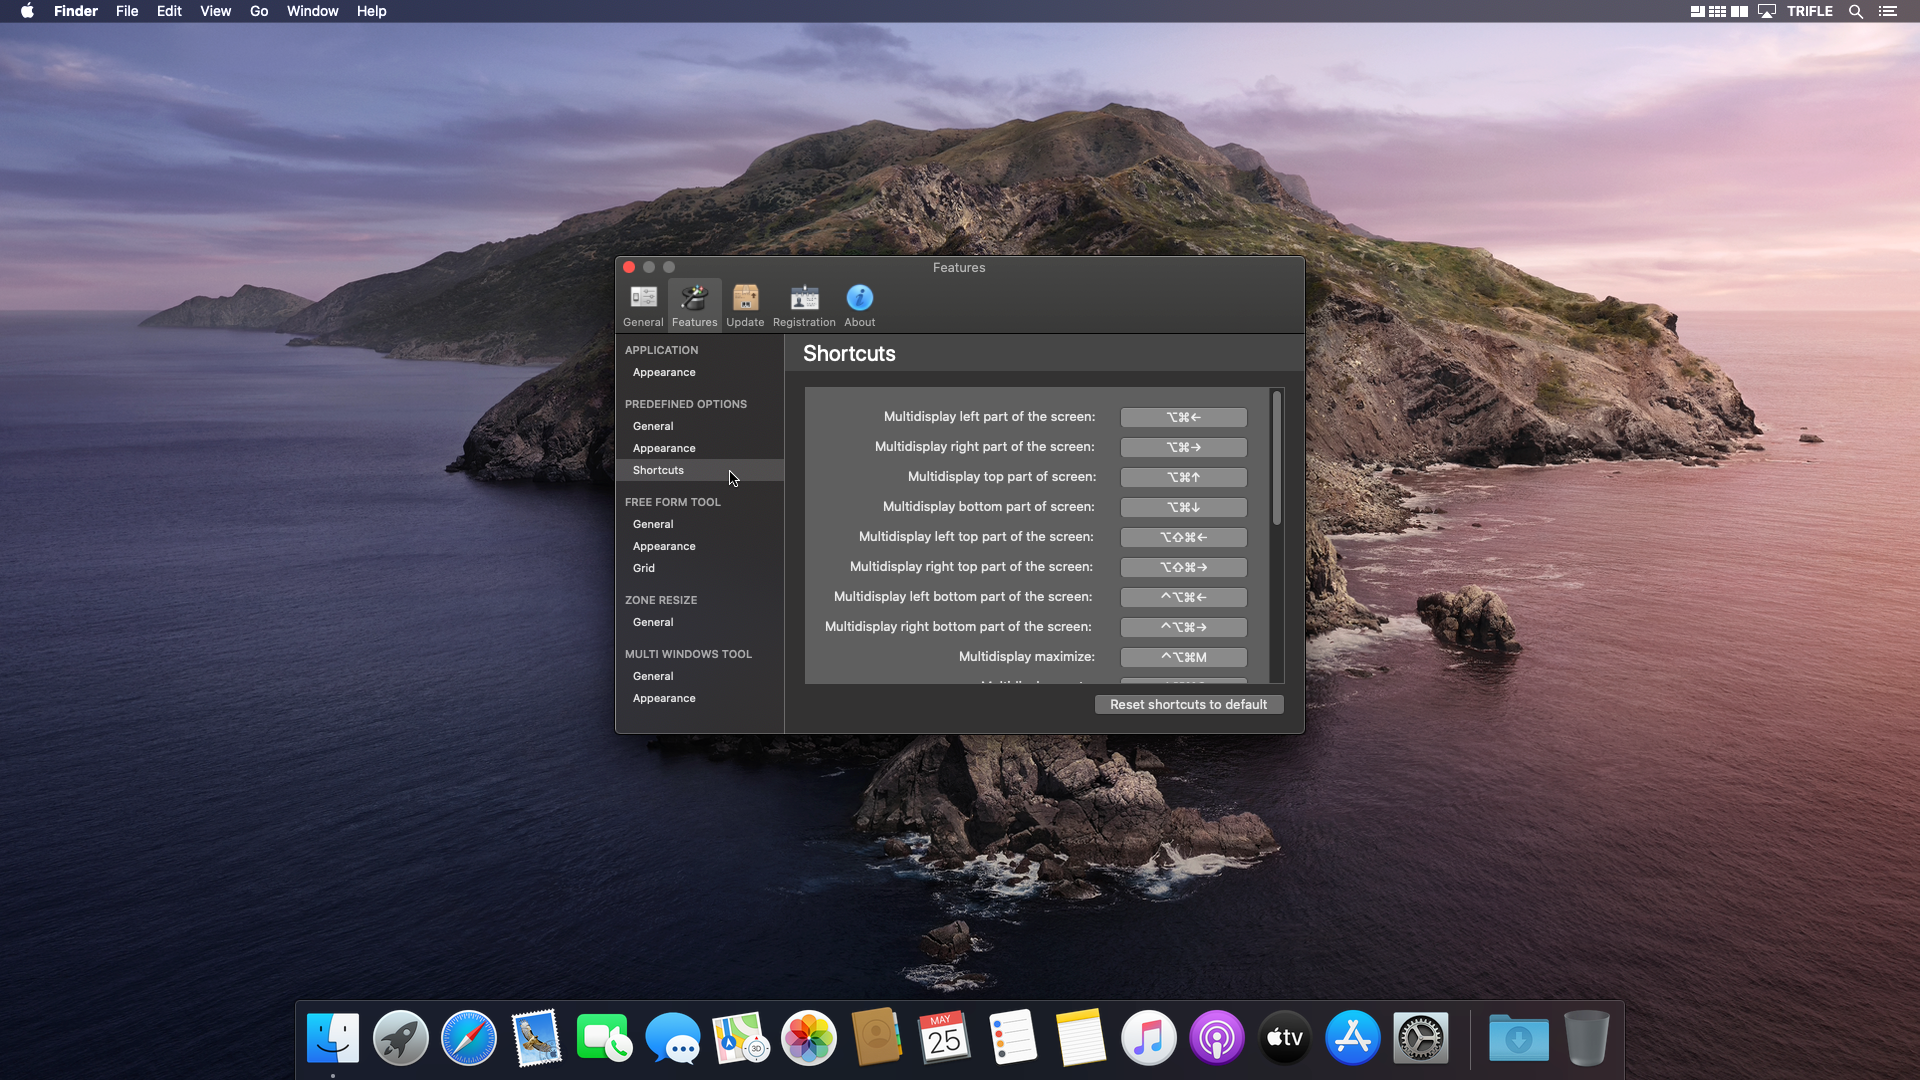
- Keyboard shortcut selectors - lets assign keys combinations to the predefined positions and sizes,
- Reset shortcuts to default - resets shortcuts settings to default values.

Keyboard shortcuts
With the keyboard shortcuts the predefined positions and sizes can be selected. Each repositioning/resizing shortcut exists in two versions. One operates on an original window screen, other can move the window among all displays. By default only the second set has assigned key combinations.
| Default configuration of keyboard shortcuts | |
|---|---|
| Option-Control-Command-m | Maximize |
| Option-Control-Command-c | Center |
| Option-Command-Left Arrow | Left part of the screen |
| Option-Command-Right Arrow | Right part of the screen |
| Option-Command-Up Arrow | Top part of screen |
| Option-Command-Bottom Arrow | Bottom part of screen |
| Shift-Option-Command-Left Arrow | Left top part of the screen |
| Shift-Option-Command-Right Arrow | Right top part of the screen |
| Option-Control-Command-Left Arrow | Left bottom part of the screen |
| Option-Control-Command-Right Arrow | Right bottom part of the screen |
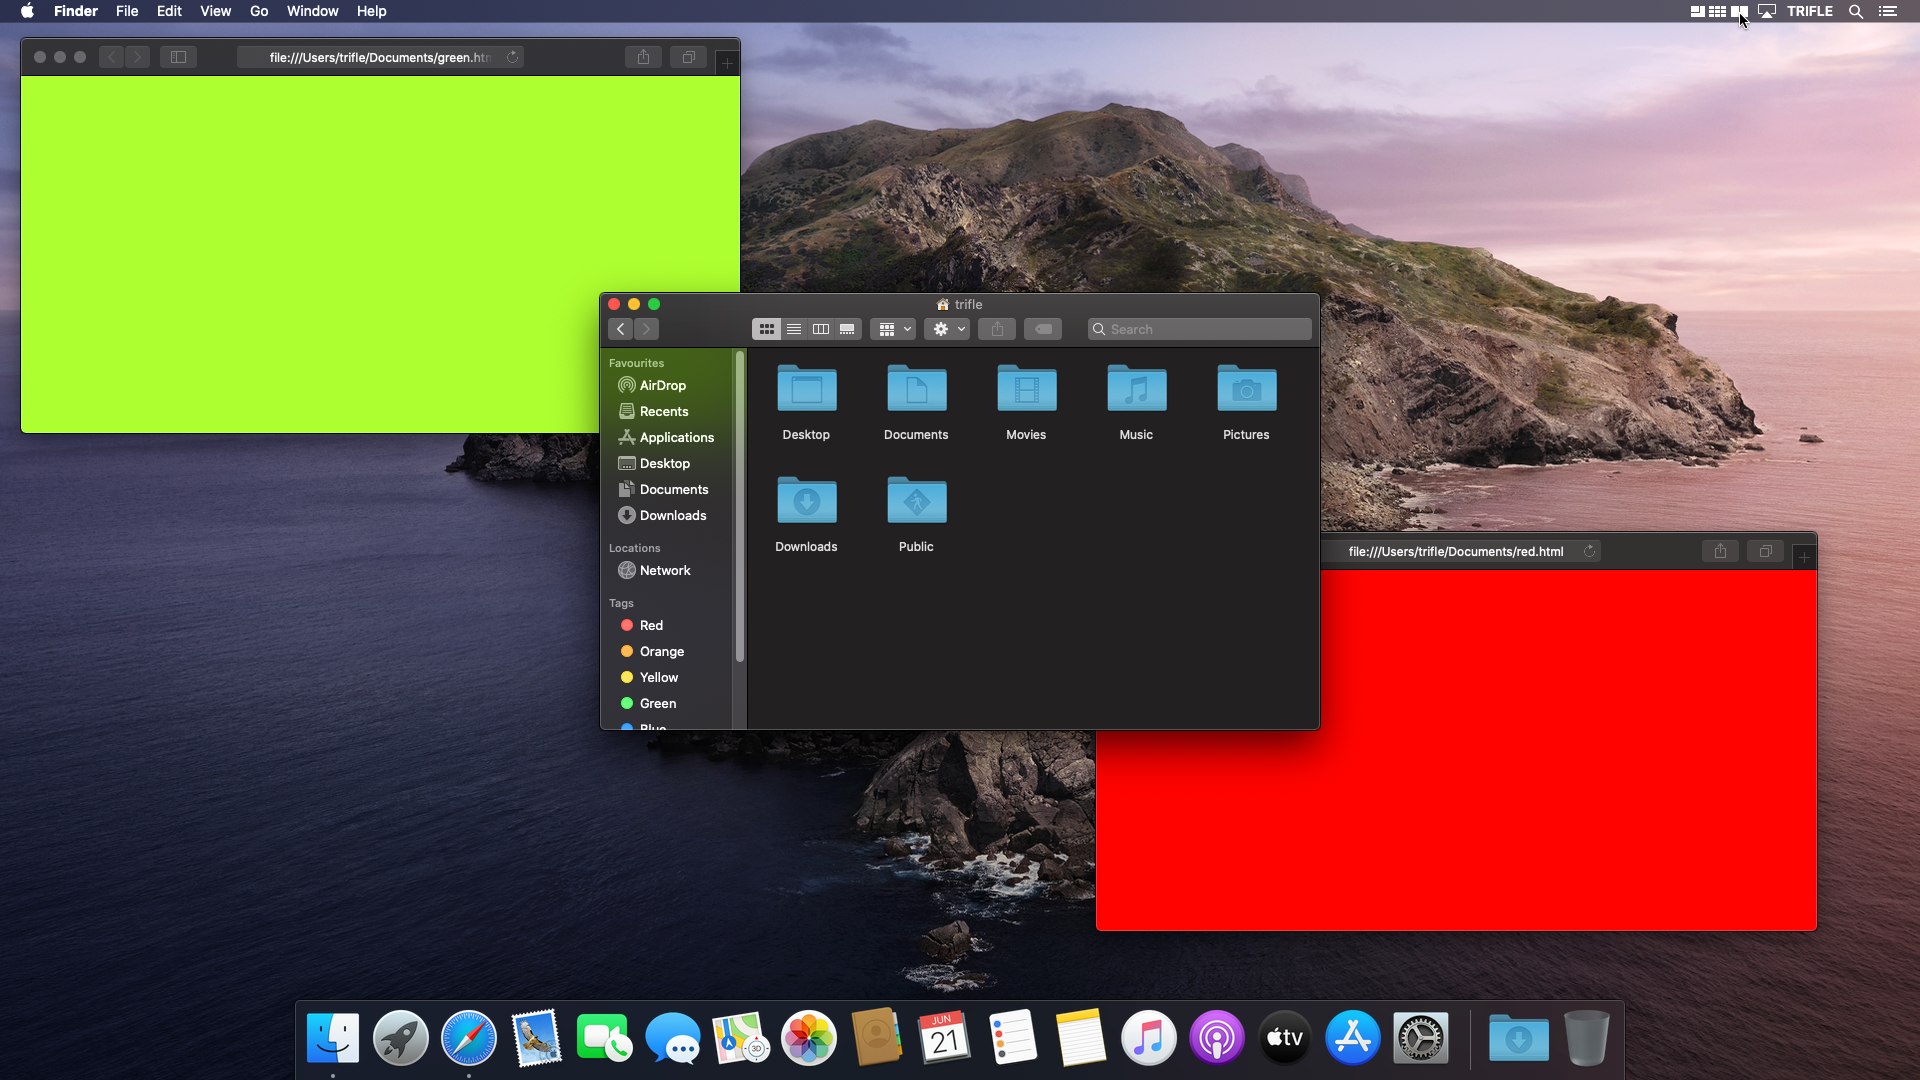
Free form tool
Free form tool, provides on-screen menu with rectangles representing screens, reposition and resize is done by drawing a frame inside them, size and position is snapped to a grid.
To use free form tool do the following:
- activate on-screen menu using the green menu bar icon or with shortcut key (default: Option-Control-Command-l),
- move the mouse to a position in screens' representation rectange where the window should have one of its corners and press the left mouse button,
- drag the mouse to a position where the opposite corner should be located,
- release the mouse button.
Preferences
Following settings can be adjusted:
- Invoke Free Form Tool - lets set a keyboard shortcut which activates on-screen menu,
- Show icon in Menu Bar - turns on/off visibility of the menu bar icon,
- Colour selectors - lets choose colours of on-screen menu elements,
- Reset appearance to default - resets appearance settings to default values,
- Size - size of grid to which window's position and size are snapped.


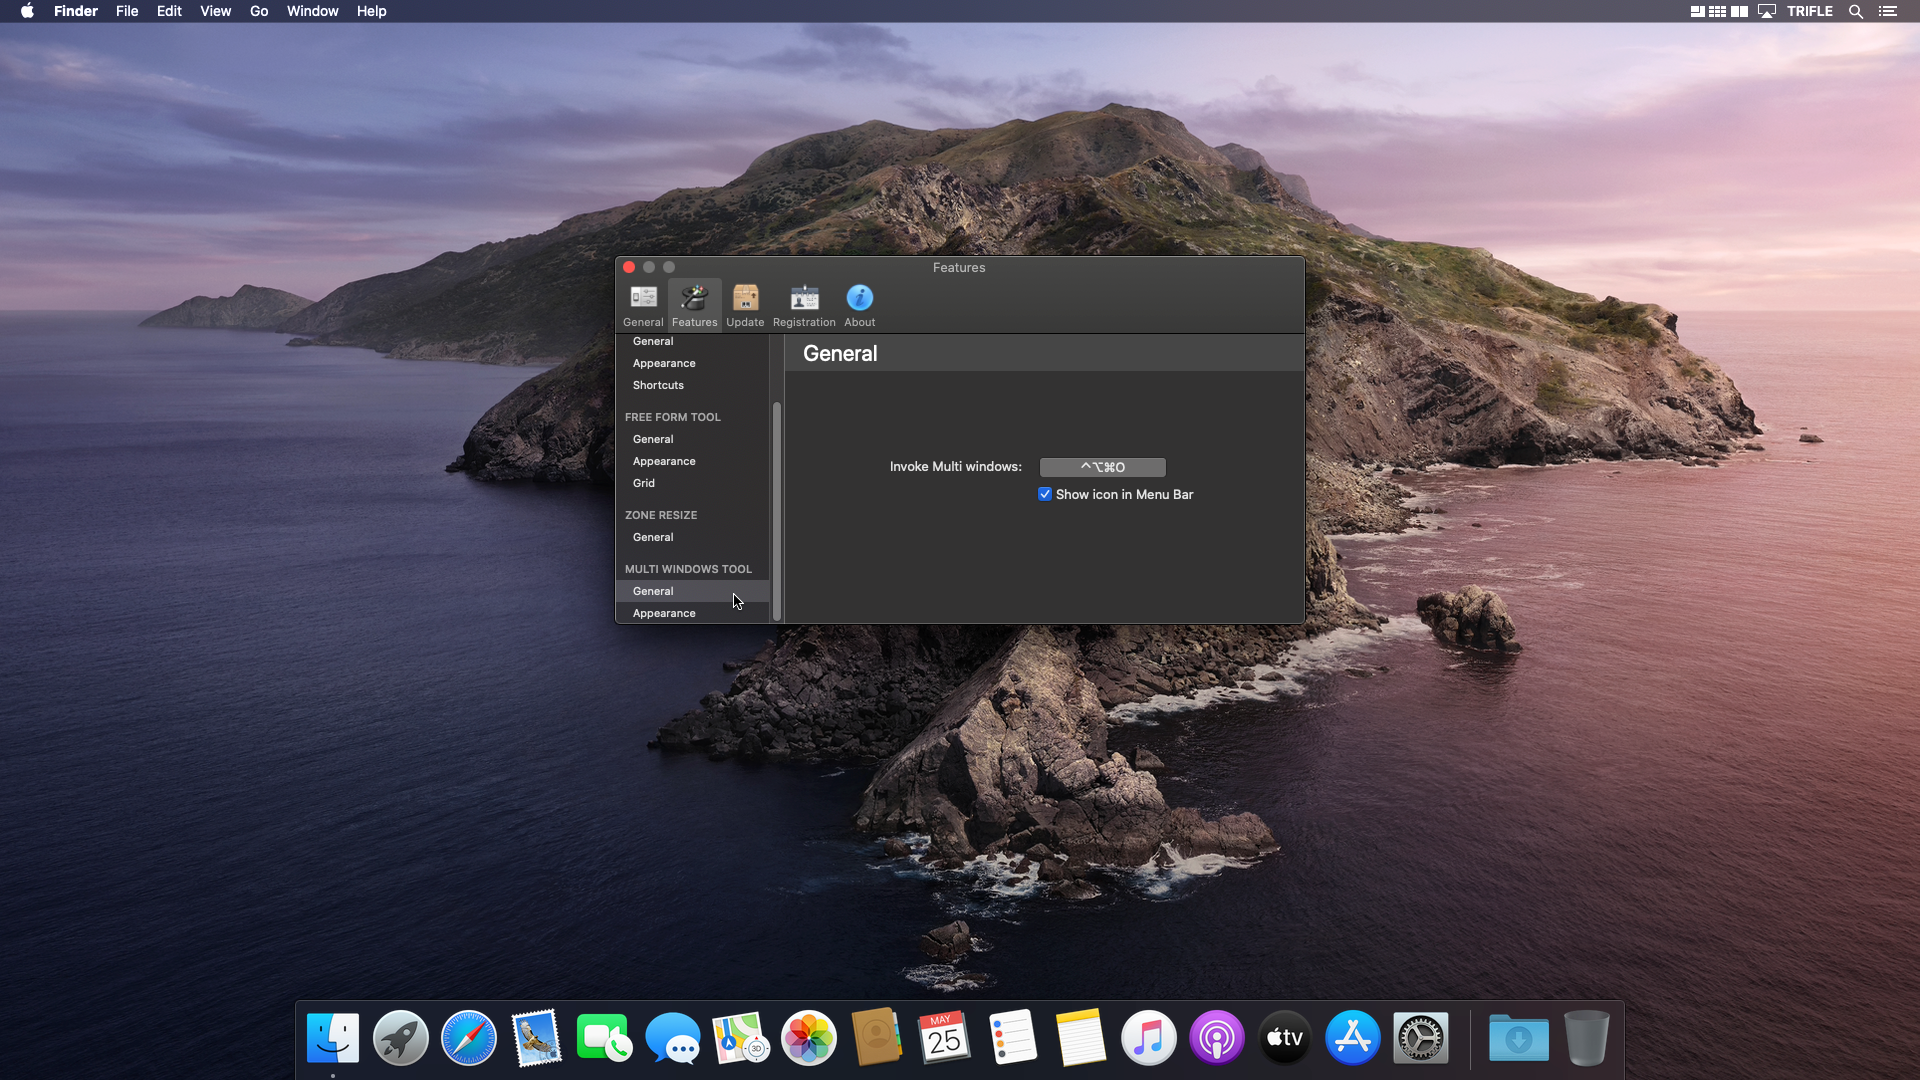
Multi window tool
Multi windows tool, lets user manage from 2 to 5 windows at the same time, provides on-screen menu to select windows' layout, subsequent selection of the same layout changes windows' order.
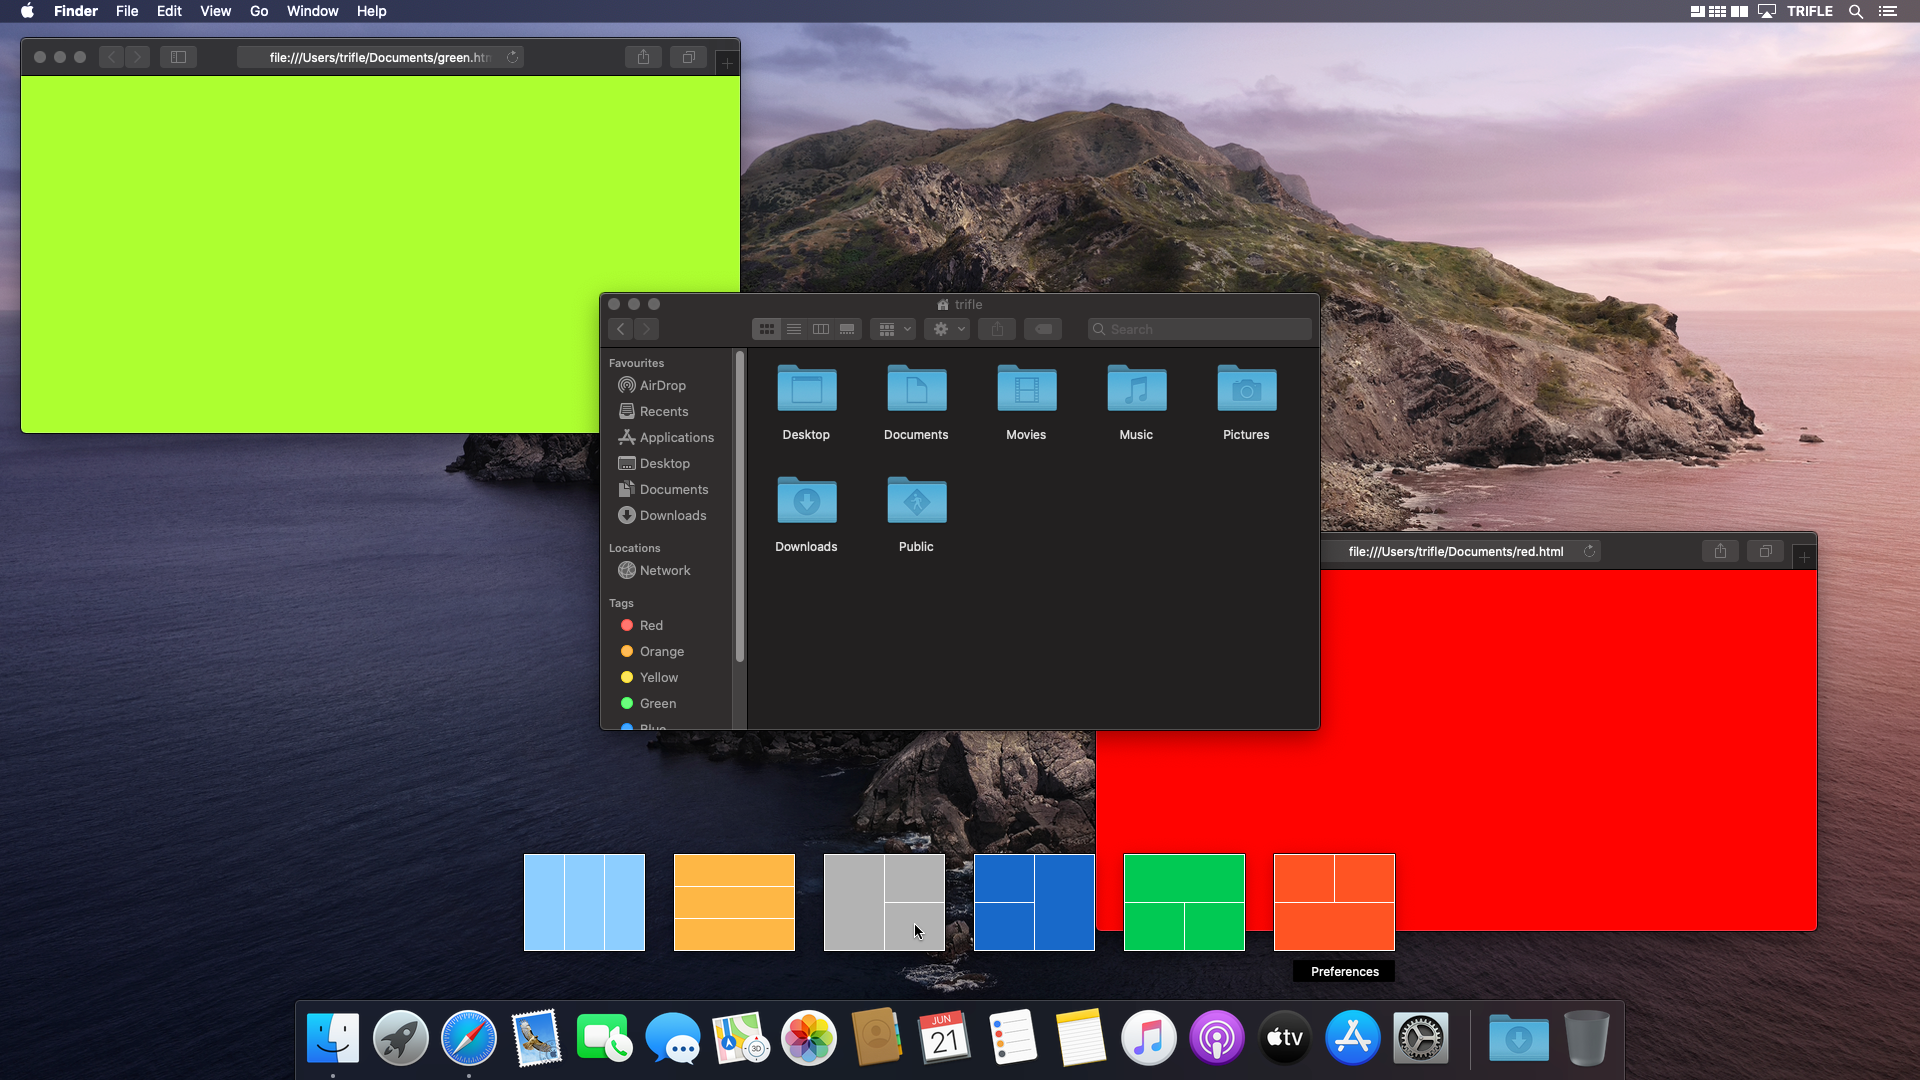
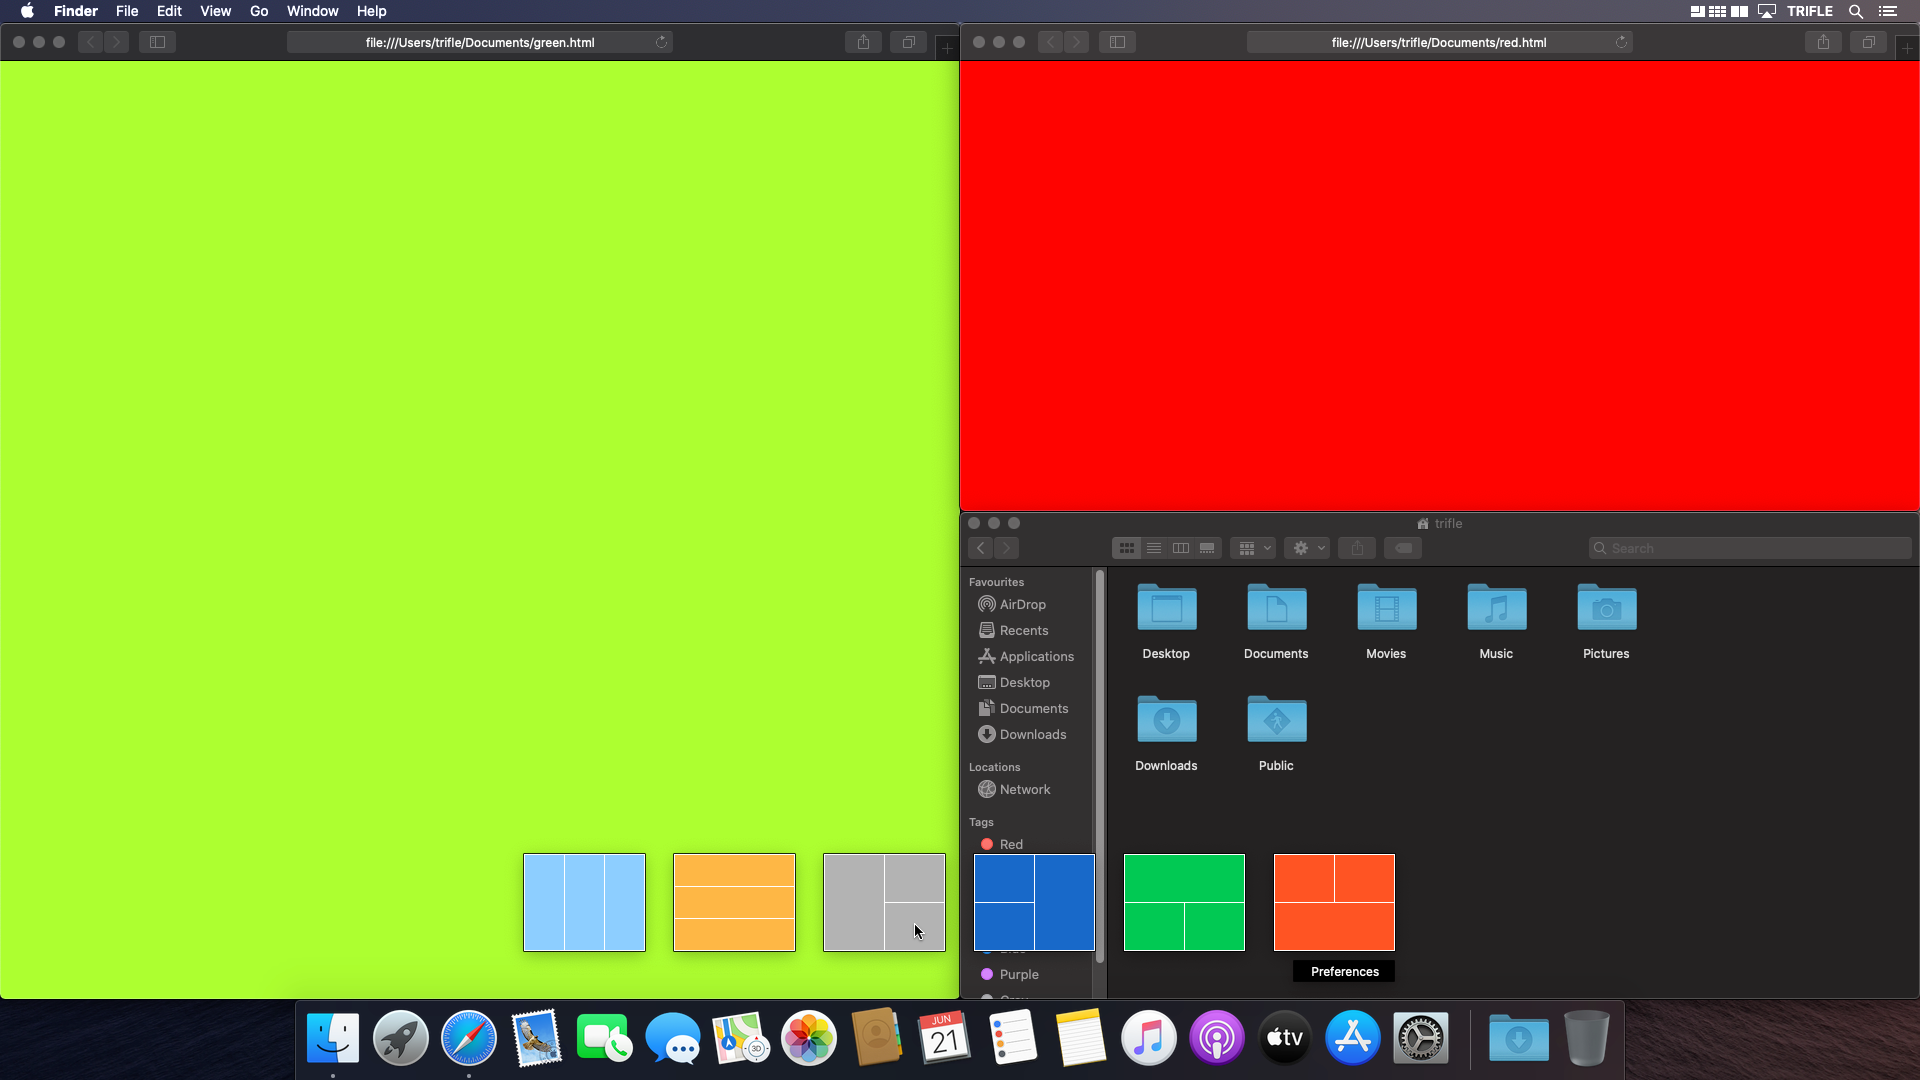
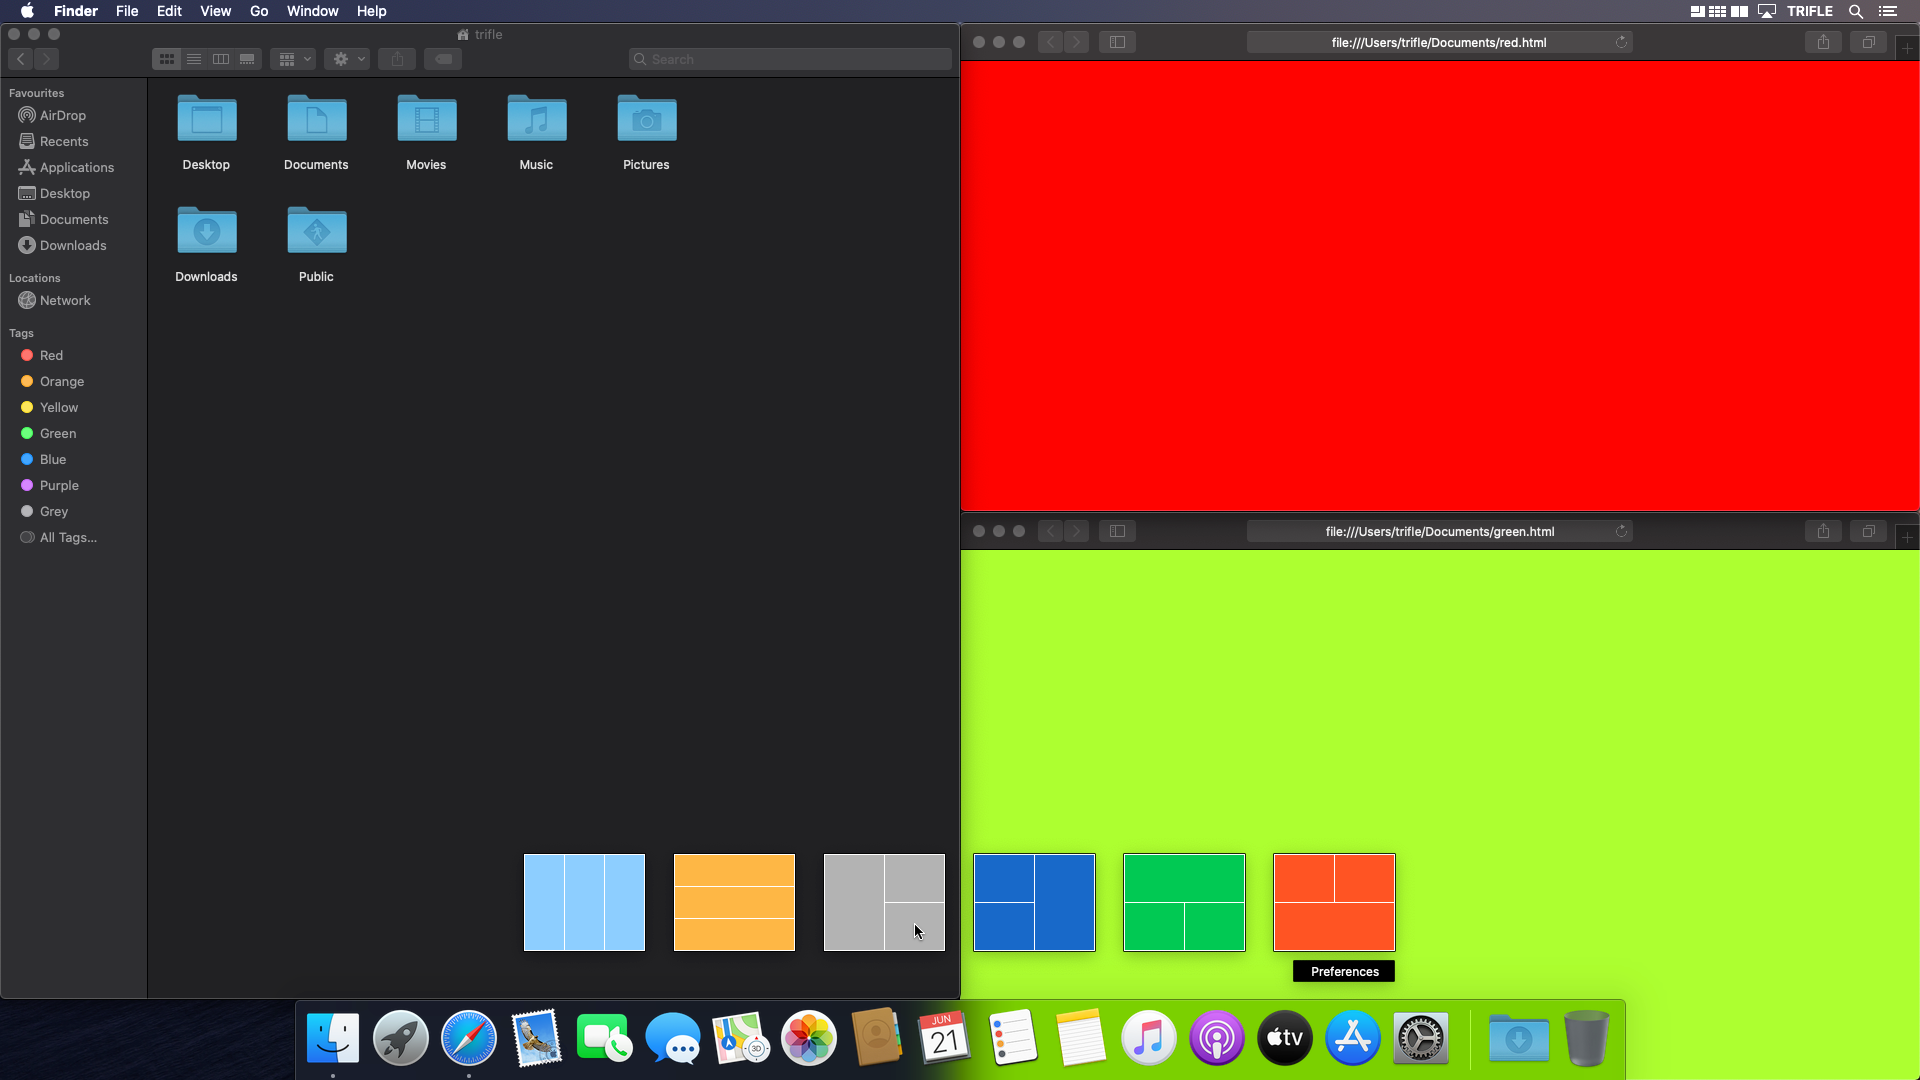
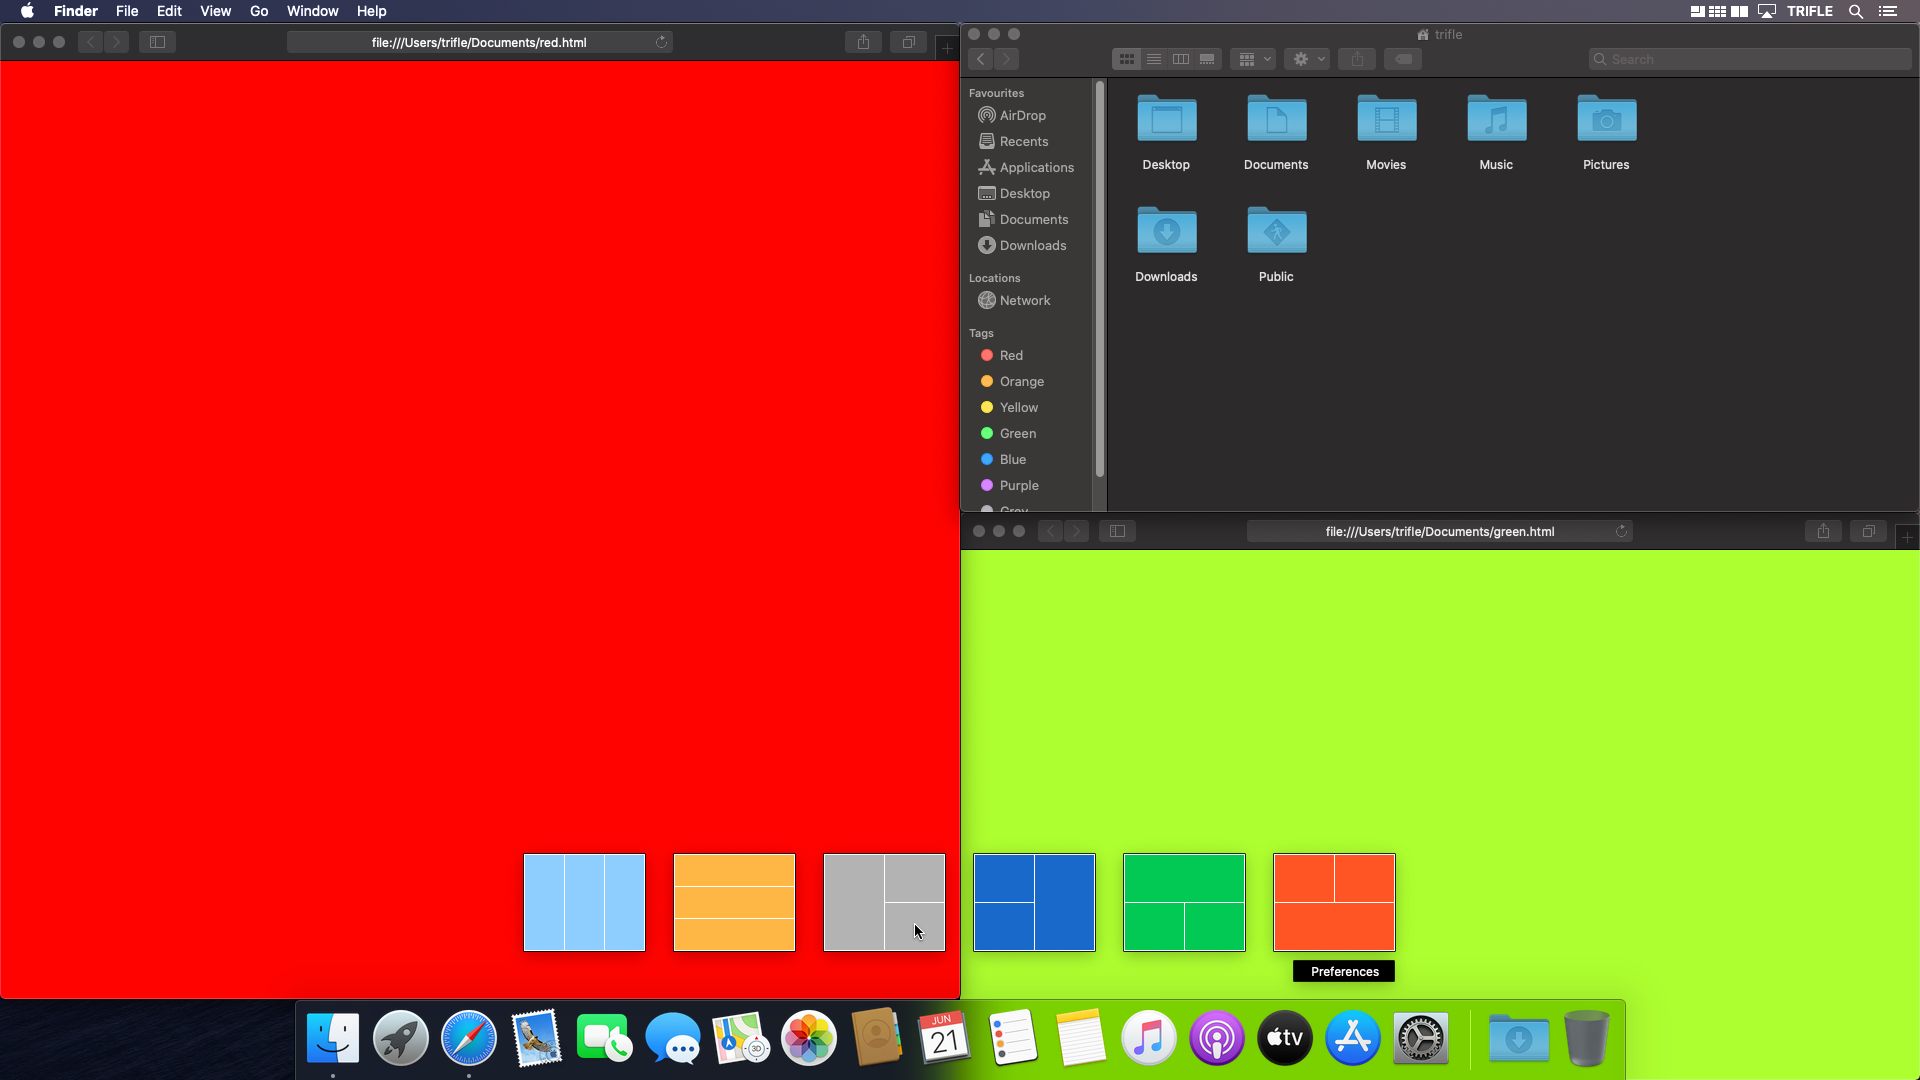


To use multi window tool do the following:
- activate on-screen menu using the orange menu bar icon or with shortcut key (default: Option-Control-Command-o),
- select a one of layouts and click it with the left mouse button until windows will be in desired locations,
- click outside on-screen menu to close it.
Preferences
Following settings can be adjusted:
- Invoke Multi Windows Tool - lets set a keyboard shortcut which activates on screen menu,
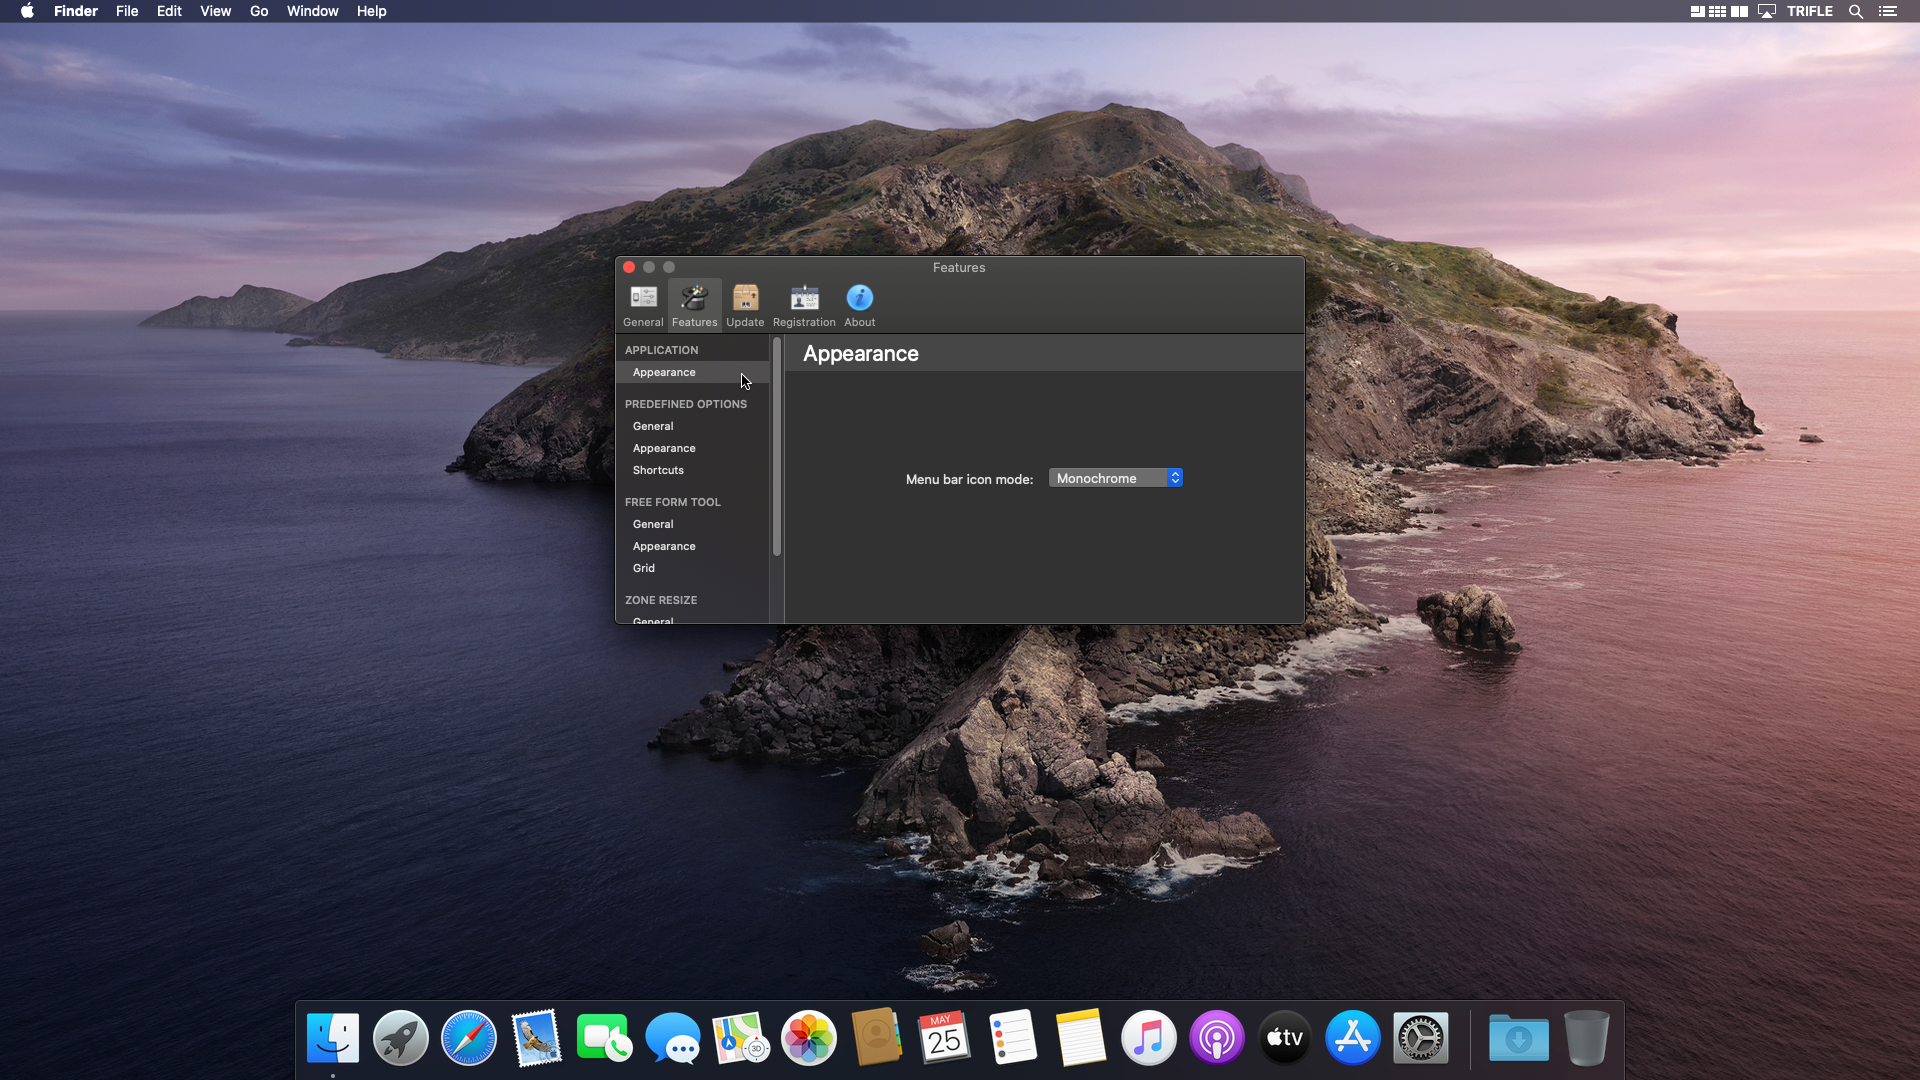
- Show icon in Menu Bar - turns on/off visibility of the menu bar icon,
- Colour selectors - lets choose colours of on-screen menu elements,
- Reset appearance to default - resets appearance settings to default values.

Preferences
To access Preferences activate one of on-screen menus and press black Preferences button. The preference panels which have not been described yet are shown below.

Following settings can be adjusted:
- Launch at startup - turns on/off starting application automatically after user log into system,
- Quit Arrange now - quits the application,
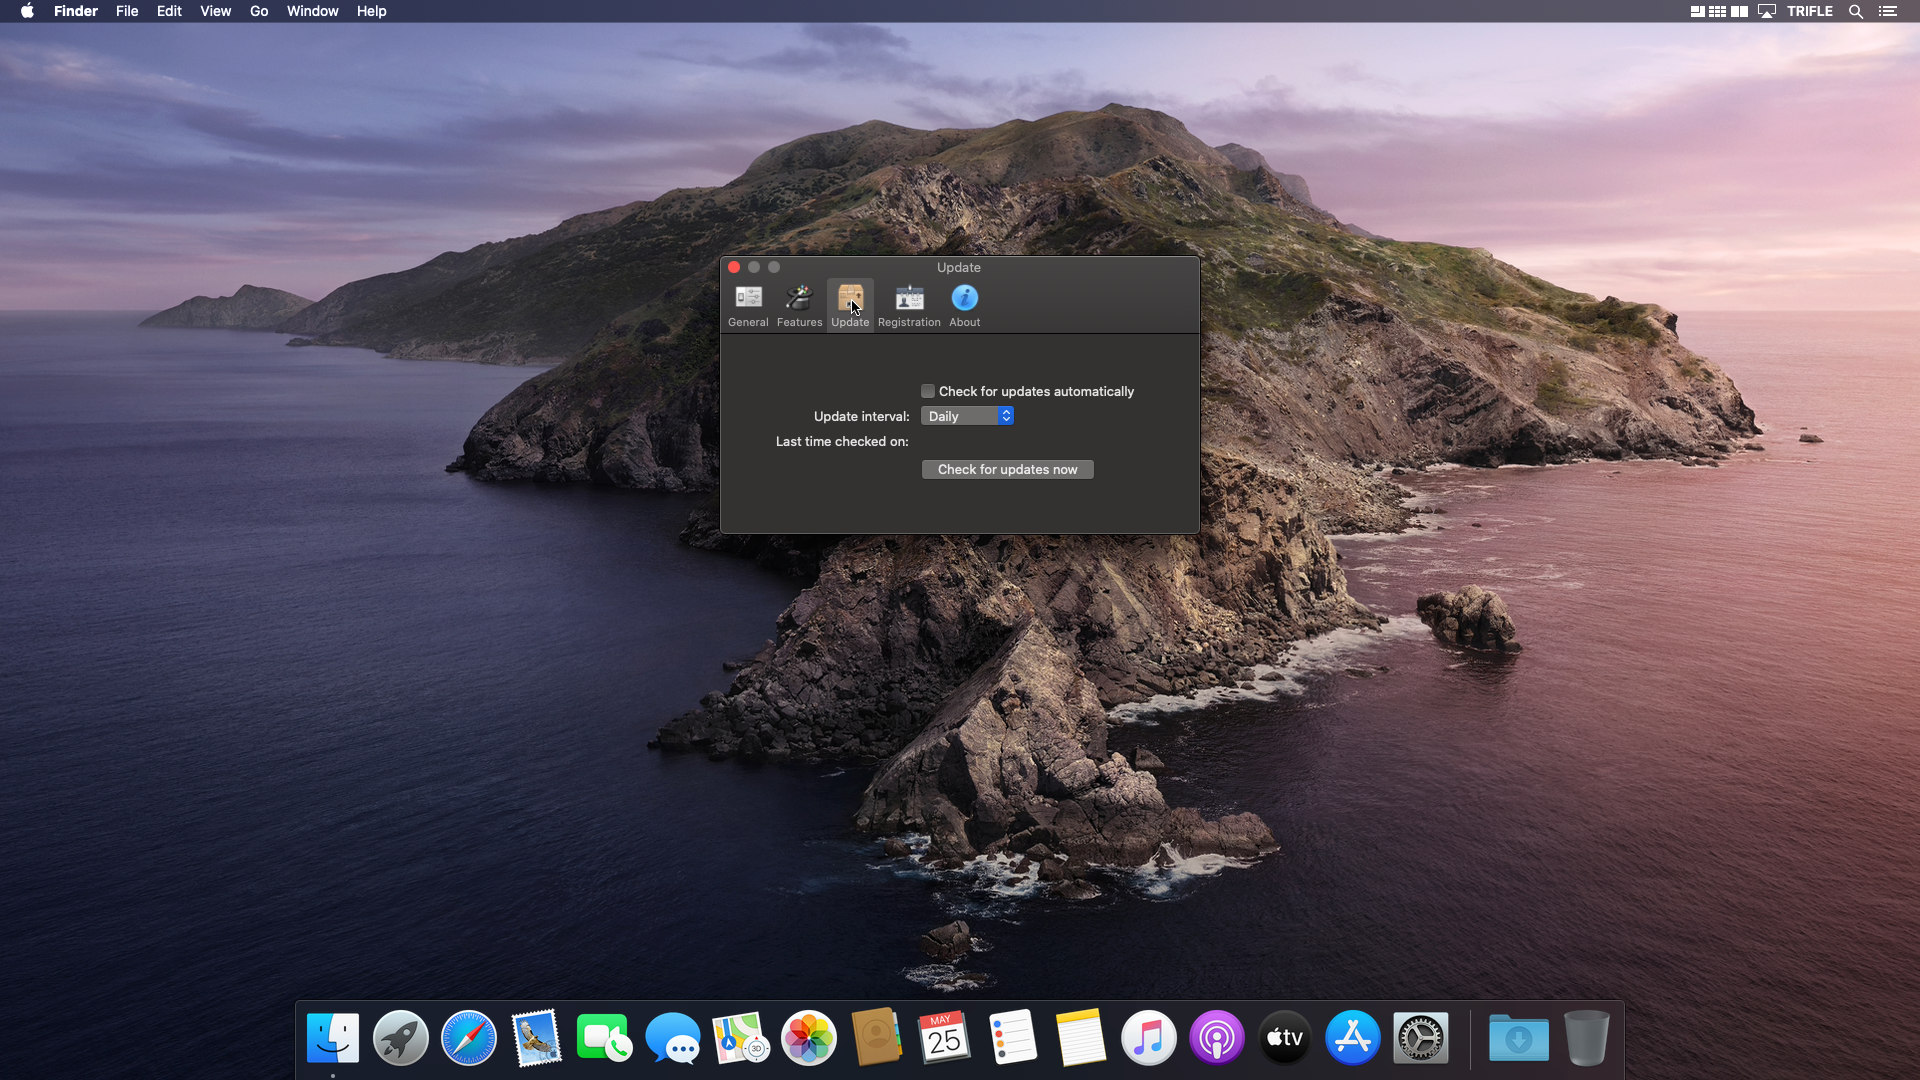
- Check for updates automatically - turns on/off automatic check for the application updates,
- Update interval - sets how frequently automatic check for the application updates should occur,
- Check for updates now - checks if updates are available.